A couple of people have asked how the onion jam turned out, and how the swap was.
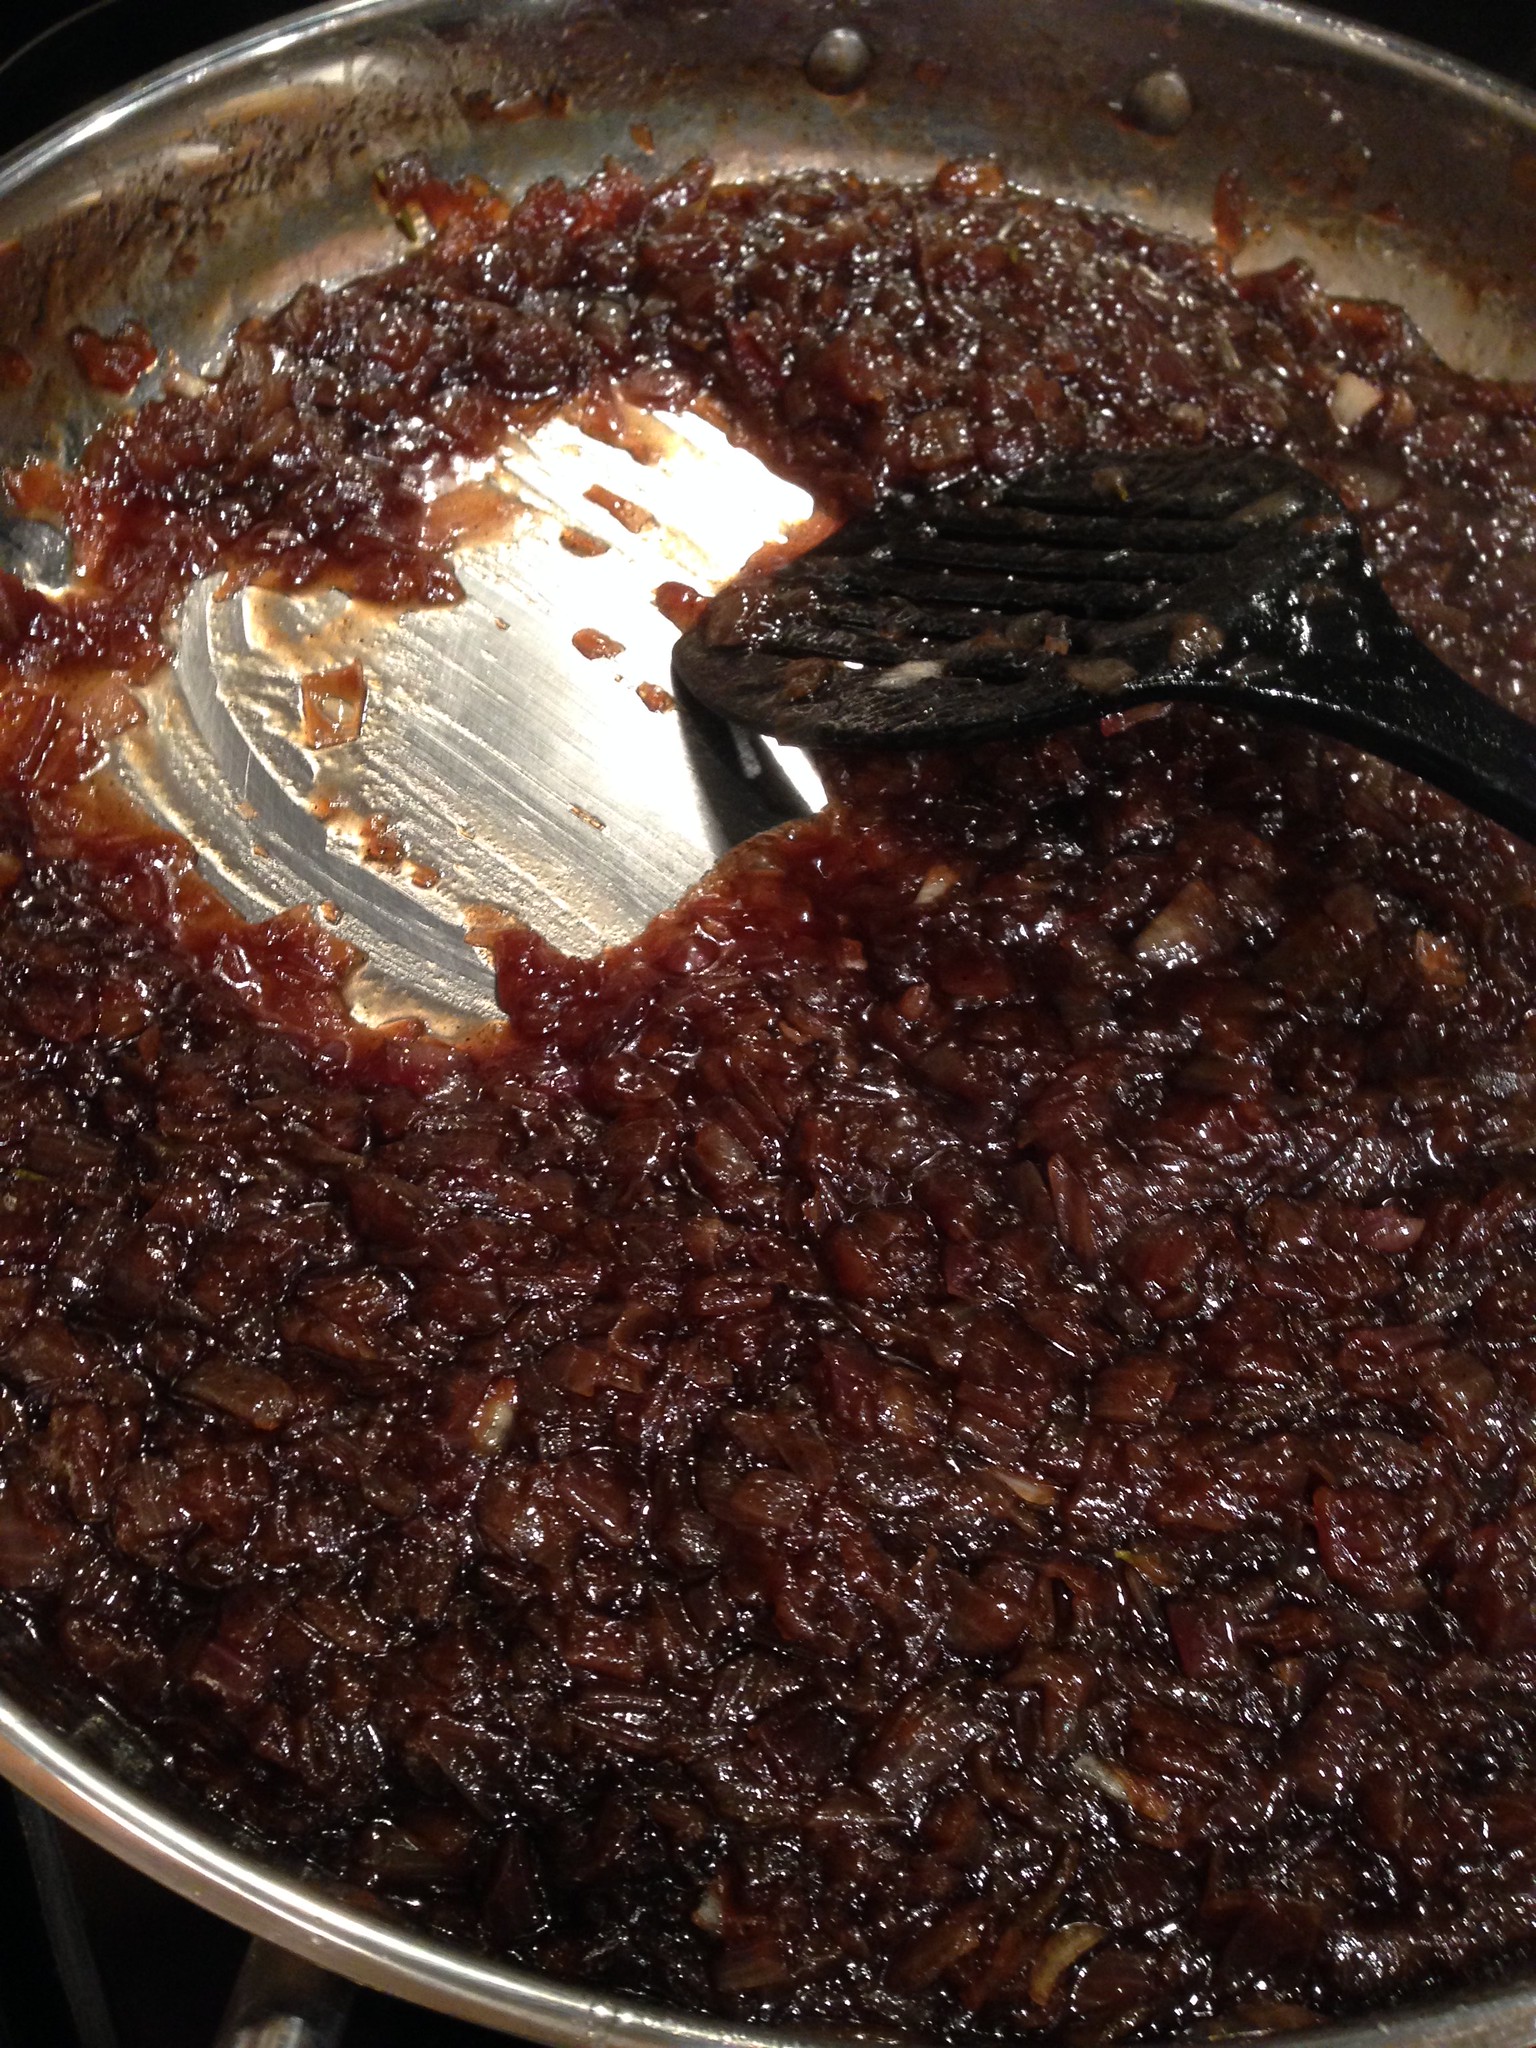
The jam was SO SO GOOD. I highly recommend making a batch. Make sure you really cook the onions for a long time - you want them soft and brown and sweet. There's no need to process the jam - I'd say after adding all of the post-caramelizing ingredients, stir a lot for maybe 20 minutes, fish out the rosemary if it's still intact, and put the jam in a container in the fridge. It will probably keep fine for about three weeks and would be amazing on turkey sandwiches, or dolloped on pork chops.
The swap was a fun success! There were 10 people there, and I brought 7 jars to swap. Everyone had an open container of their goodies so people could sample, and then the selection process began. We were each assigned a number from one to ten and took turns choosing what we wanted to take home; the selection process went from 1-10 and then backwards from 10-1, and was repeated until we were all done. The first two choosers chose my jam!
There's an honor system in place - since I brought 7 items, I got to choose a total of 7 things, but no one was tracking me. I took home a great haul: beer, limoncello, that quince paste called membrillo that you get on cheese plates sometimes, German mustard pickles, tomato jam, and TWO jars of a BBQ sauce I really really liked.
I liked that some people thought outside the box in terms of offering size - the beer was actually 3 bottles of a homemade IPA; one couple brought small containers of three different things and if a person chose their items, they could have two items count as one selection
All in all it was really fun and well-organized. It was over in an hour, and I'm looking forward to the next one in about six months... and I'm already pondering what I might make!
Wednesday, October 21, 2015
Crafty goodness
I know, I've been on a bloggy tear. Don't worry, it won't last!
My brother & sister-in-law are expecting a daughter very soon - the family betting pool spans October 30-November 10. I knit her a couple of hats, but they live in a warm place so it's hard to know how much use she'll get out of anything else. I will probably do a sweater at some point, but I'm not in a huge rush.
I DID want to get her some crafty goodness, though, so I asked some super-crafty friends for very (VERY!!!) easy sewing projects I could do. I was counseled to do a very simple blanket, and some burp cloths.
Blanket directions:
1. Cut two squares of fabric of the same size
2. Line them up face to face
3. Sew them together, leaving a four-inch gap in the stitching
4. Turn the bundle inside-out through that gap
5. Hand-sew that hole closed
6. Do another round of stitches around the whole thing
7. Do some stitching in random spots in the center area of the blanket so the two sides stay attached to each other.
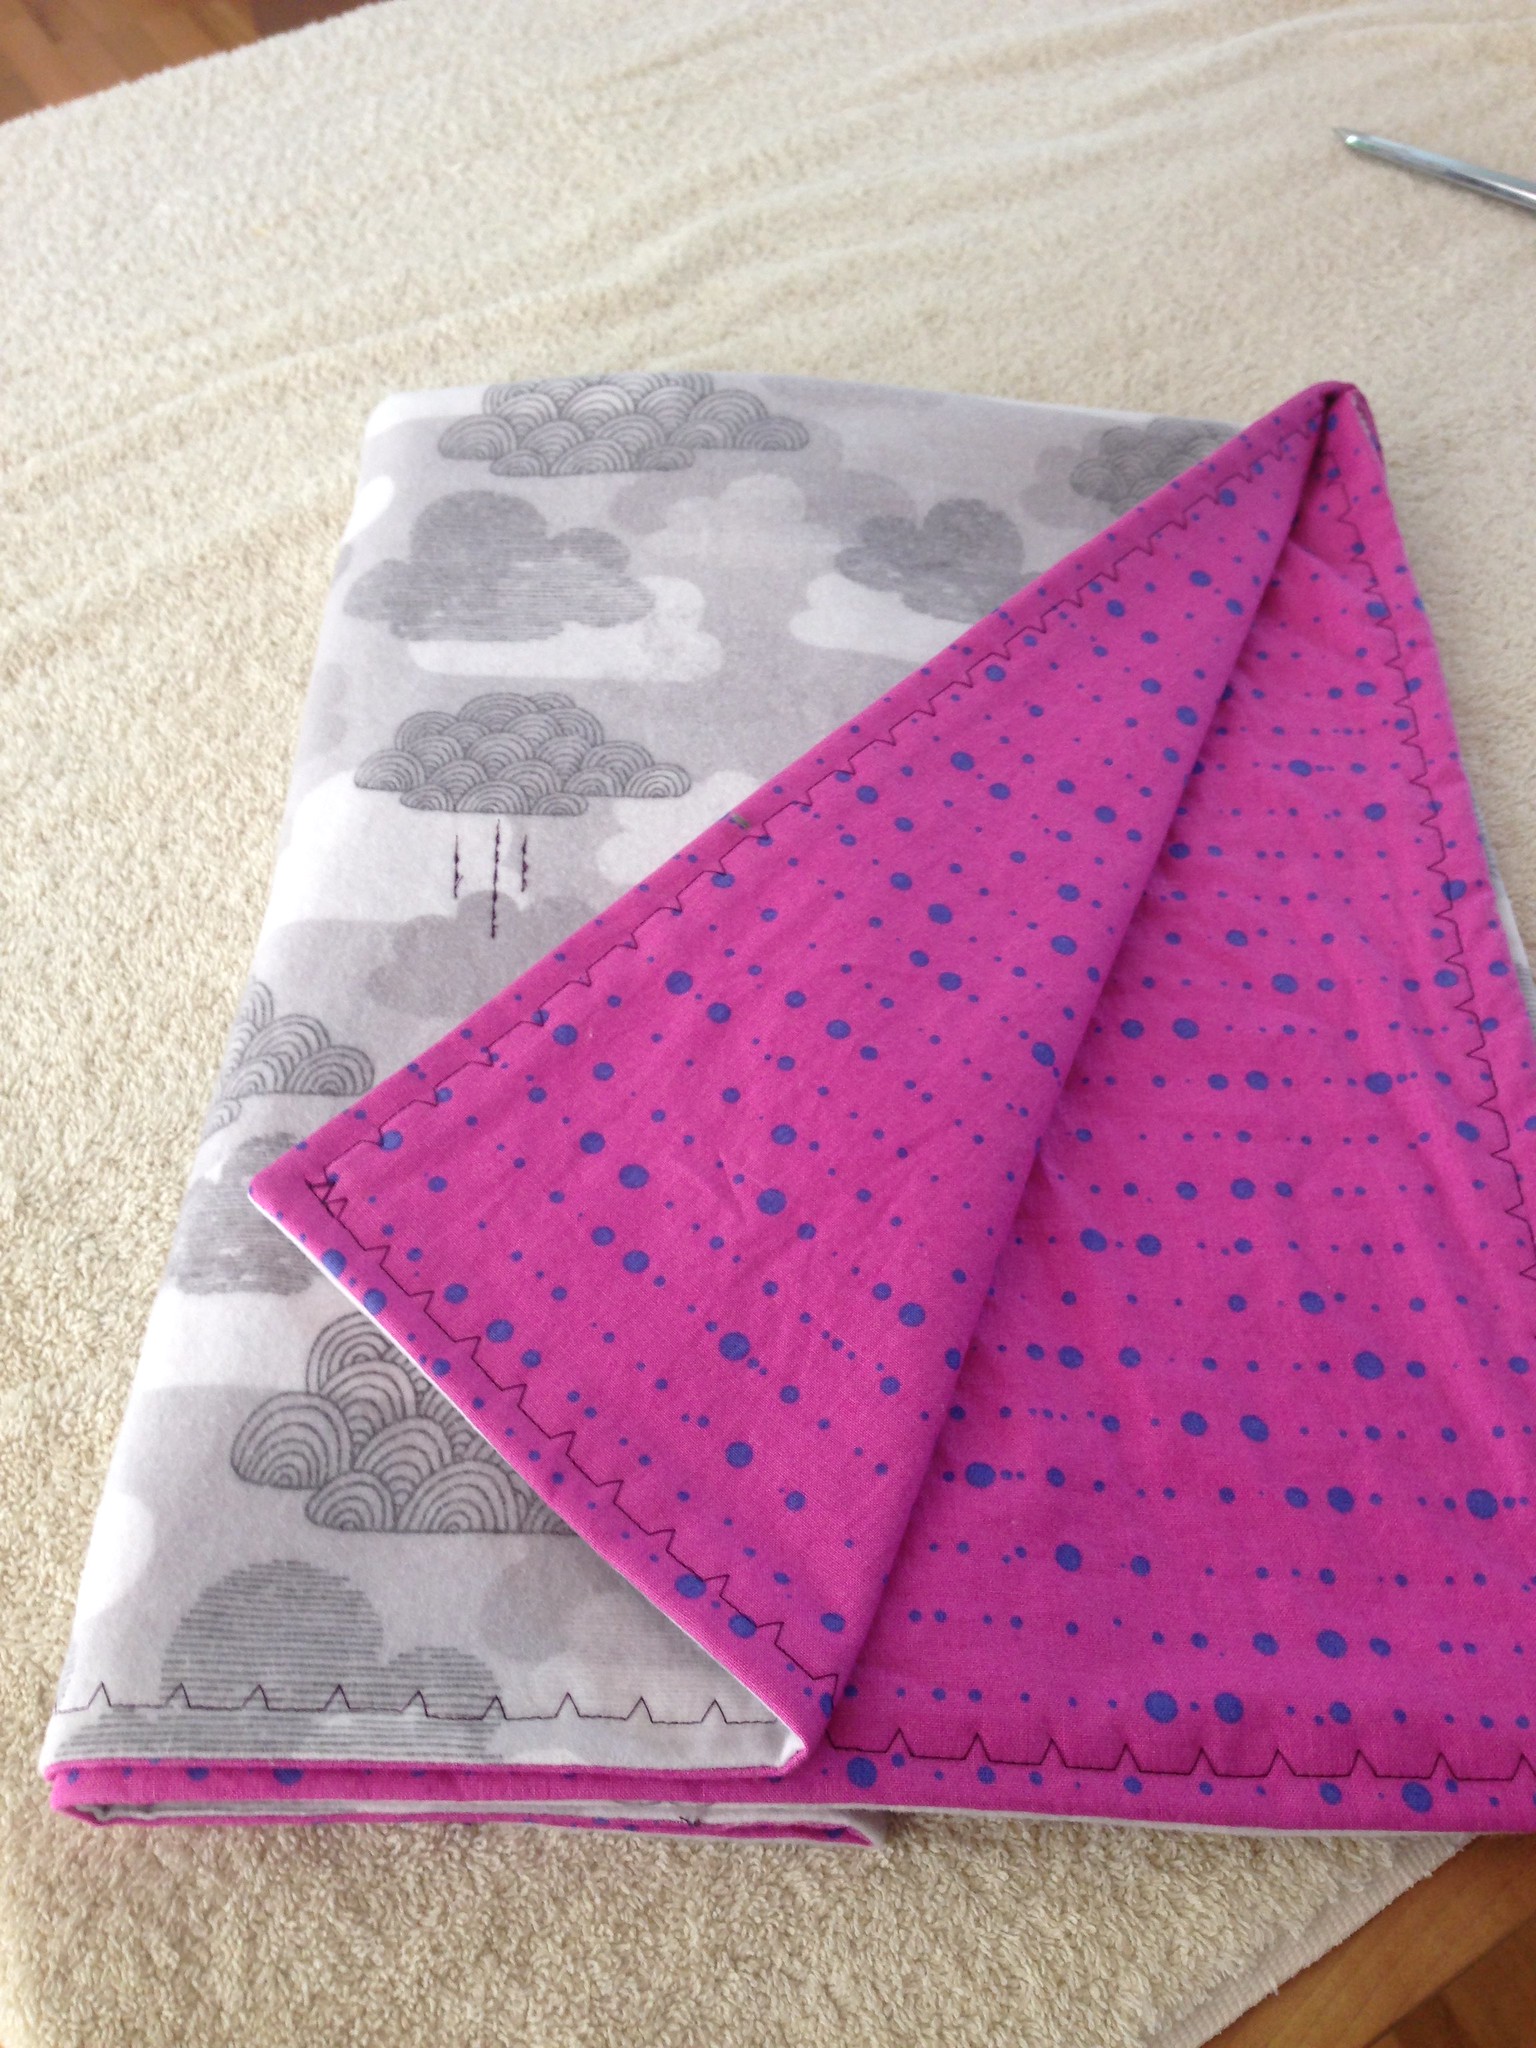
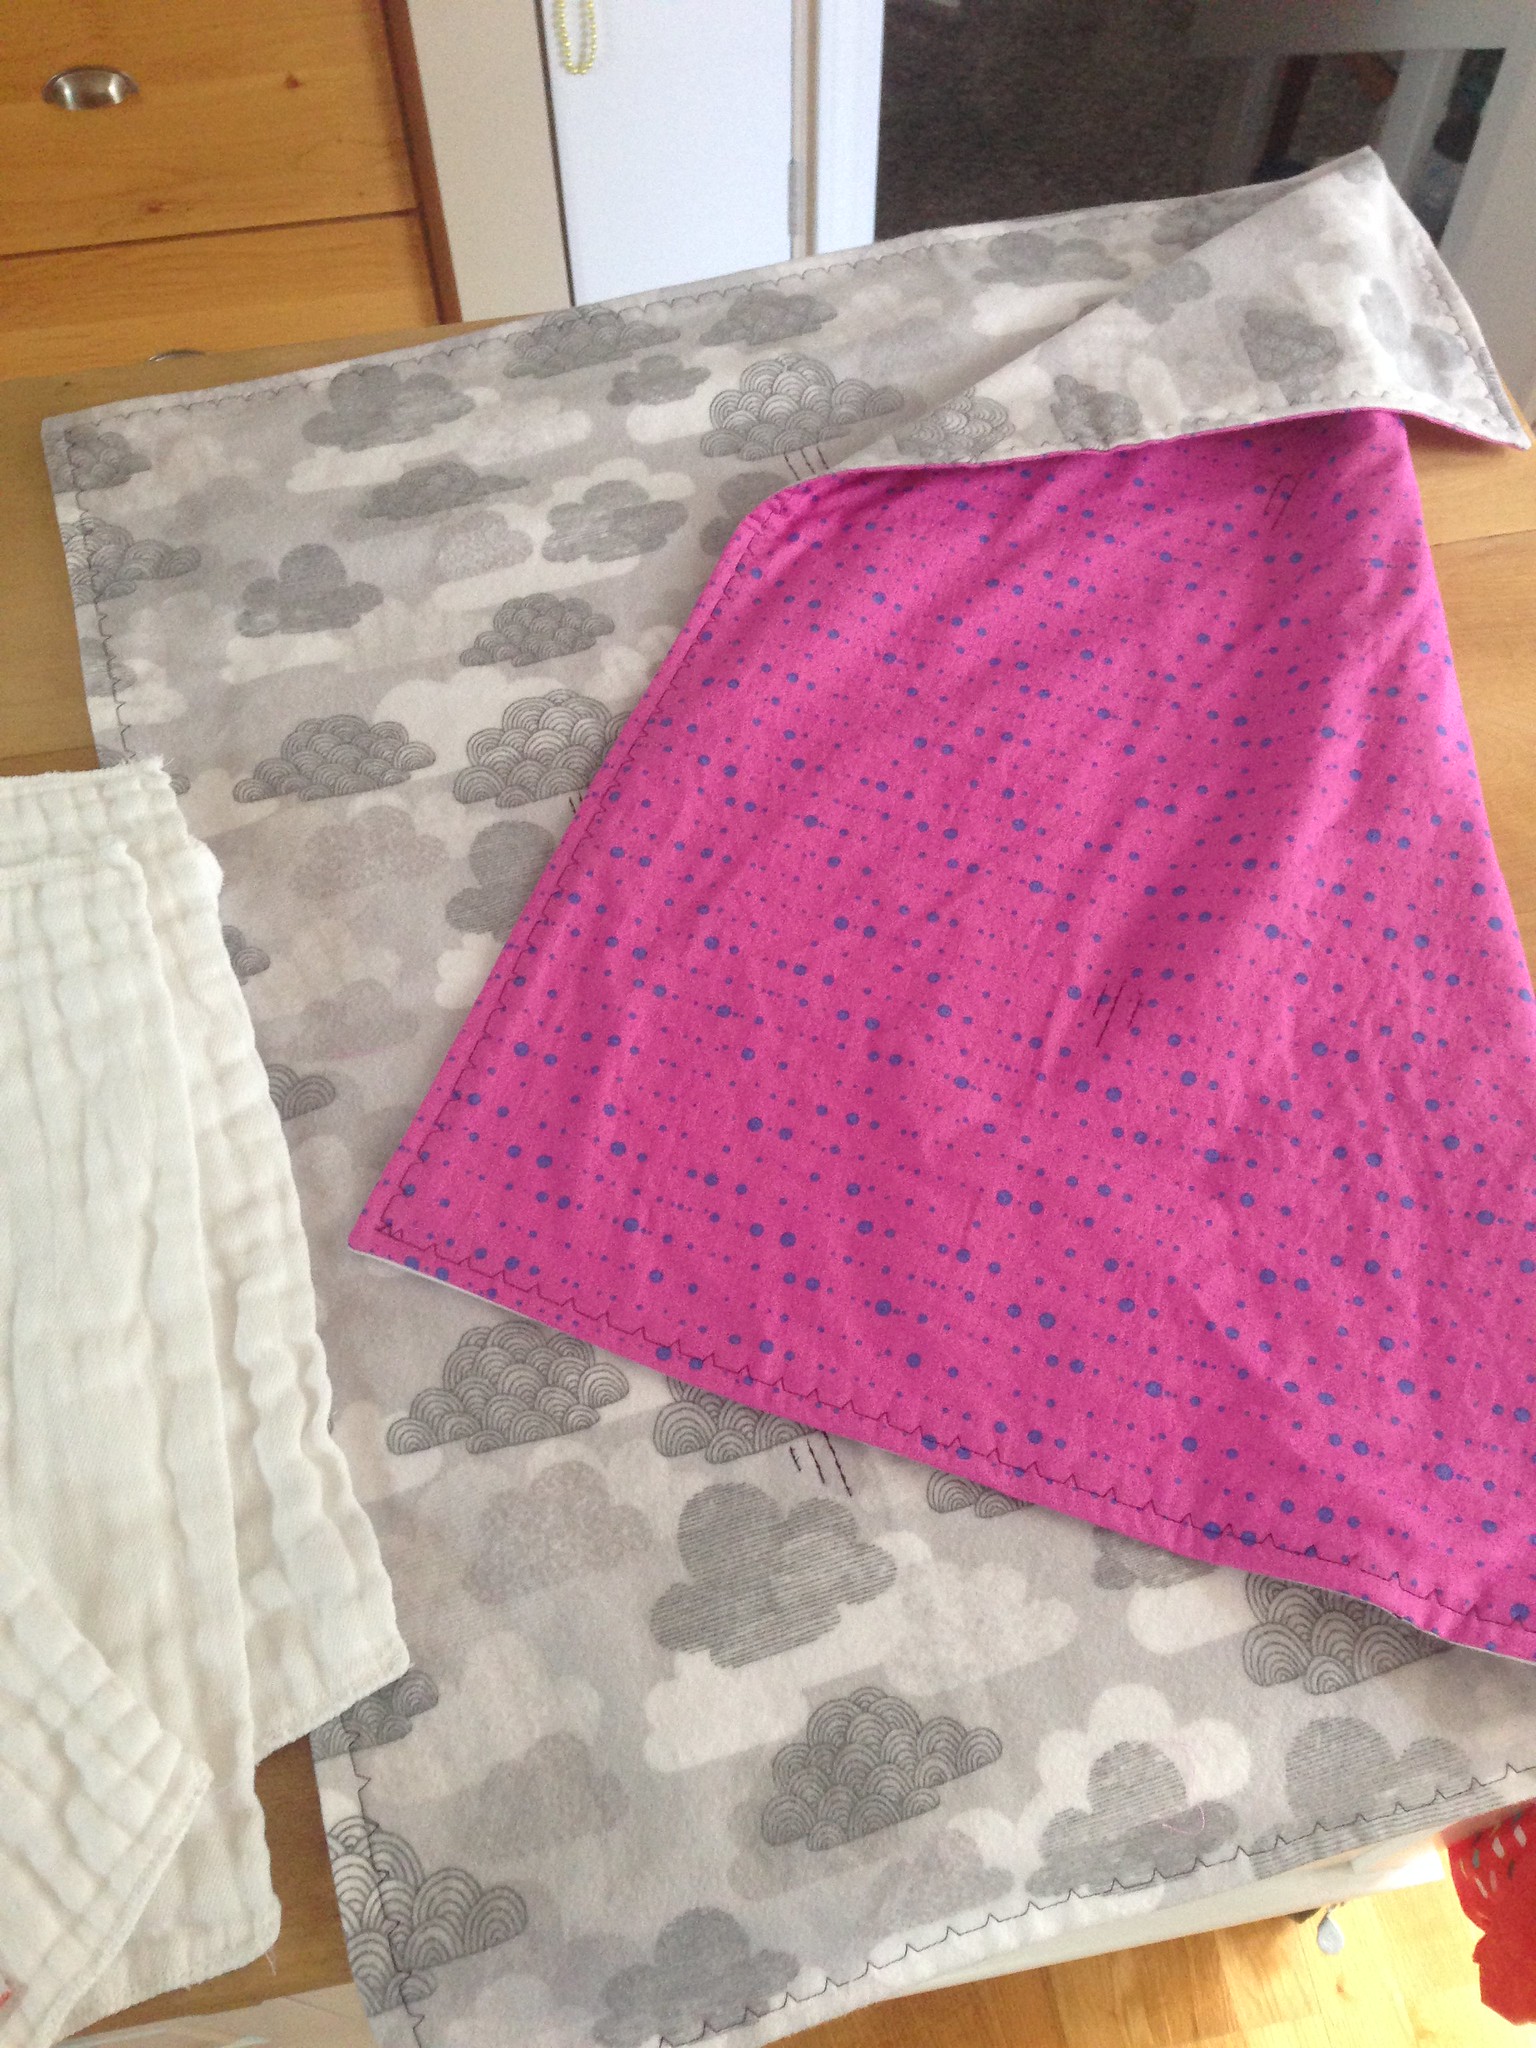
This took me a LOT longer than it should have, but I got it done and am pleased with the results. The cloudy side is flannel and the pink side is cotton; I thought I pretty cleverly made the stitching-down bits look like rain.
Burp cloth directions:
1. Cut a skinny strip of fabric the approximate length & width of the center of a cloth diaper
2. Hem the strip all around
3. Sew it to the center of the diaper
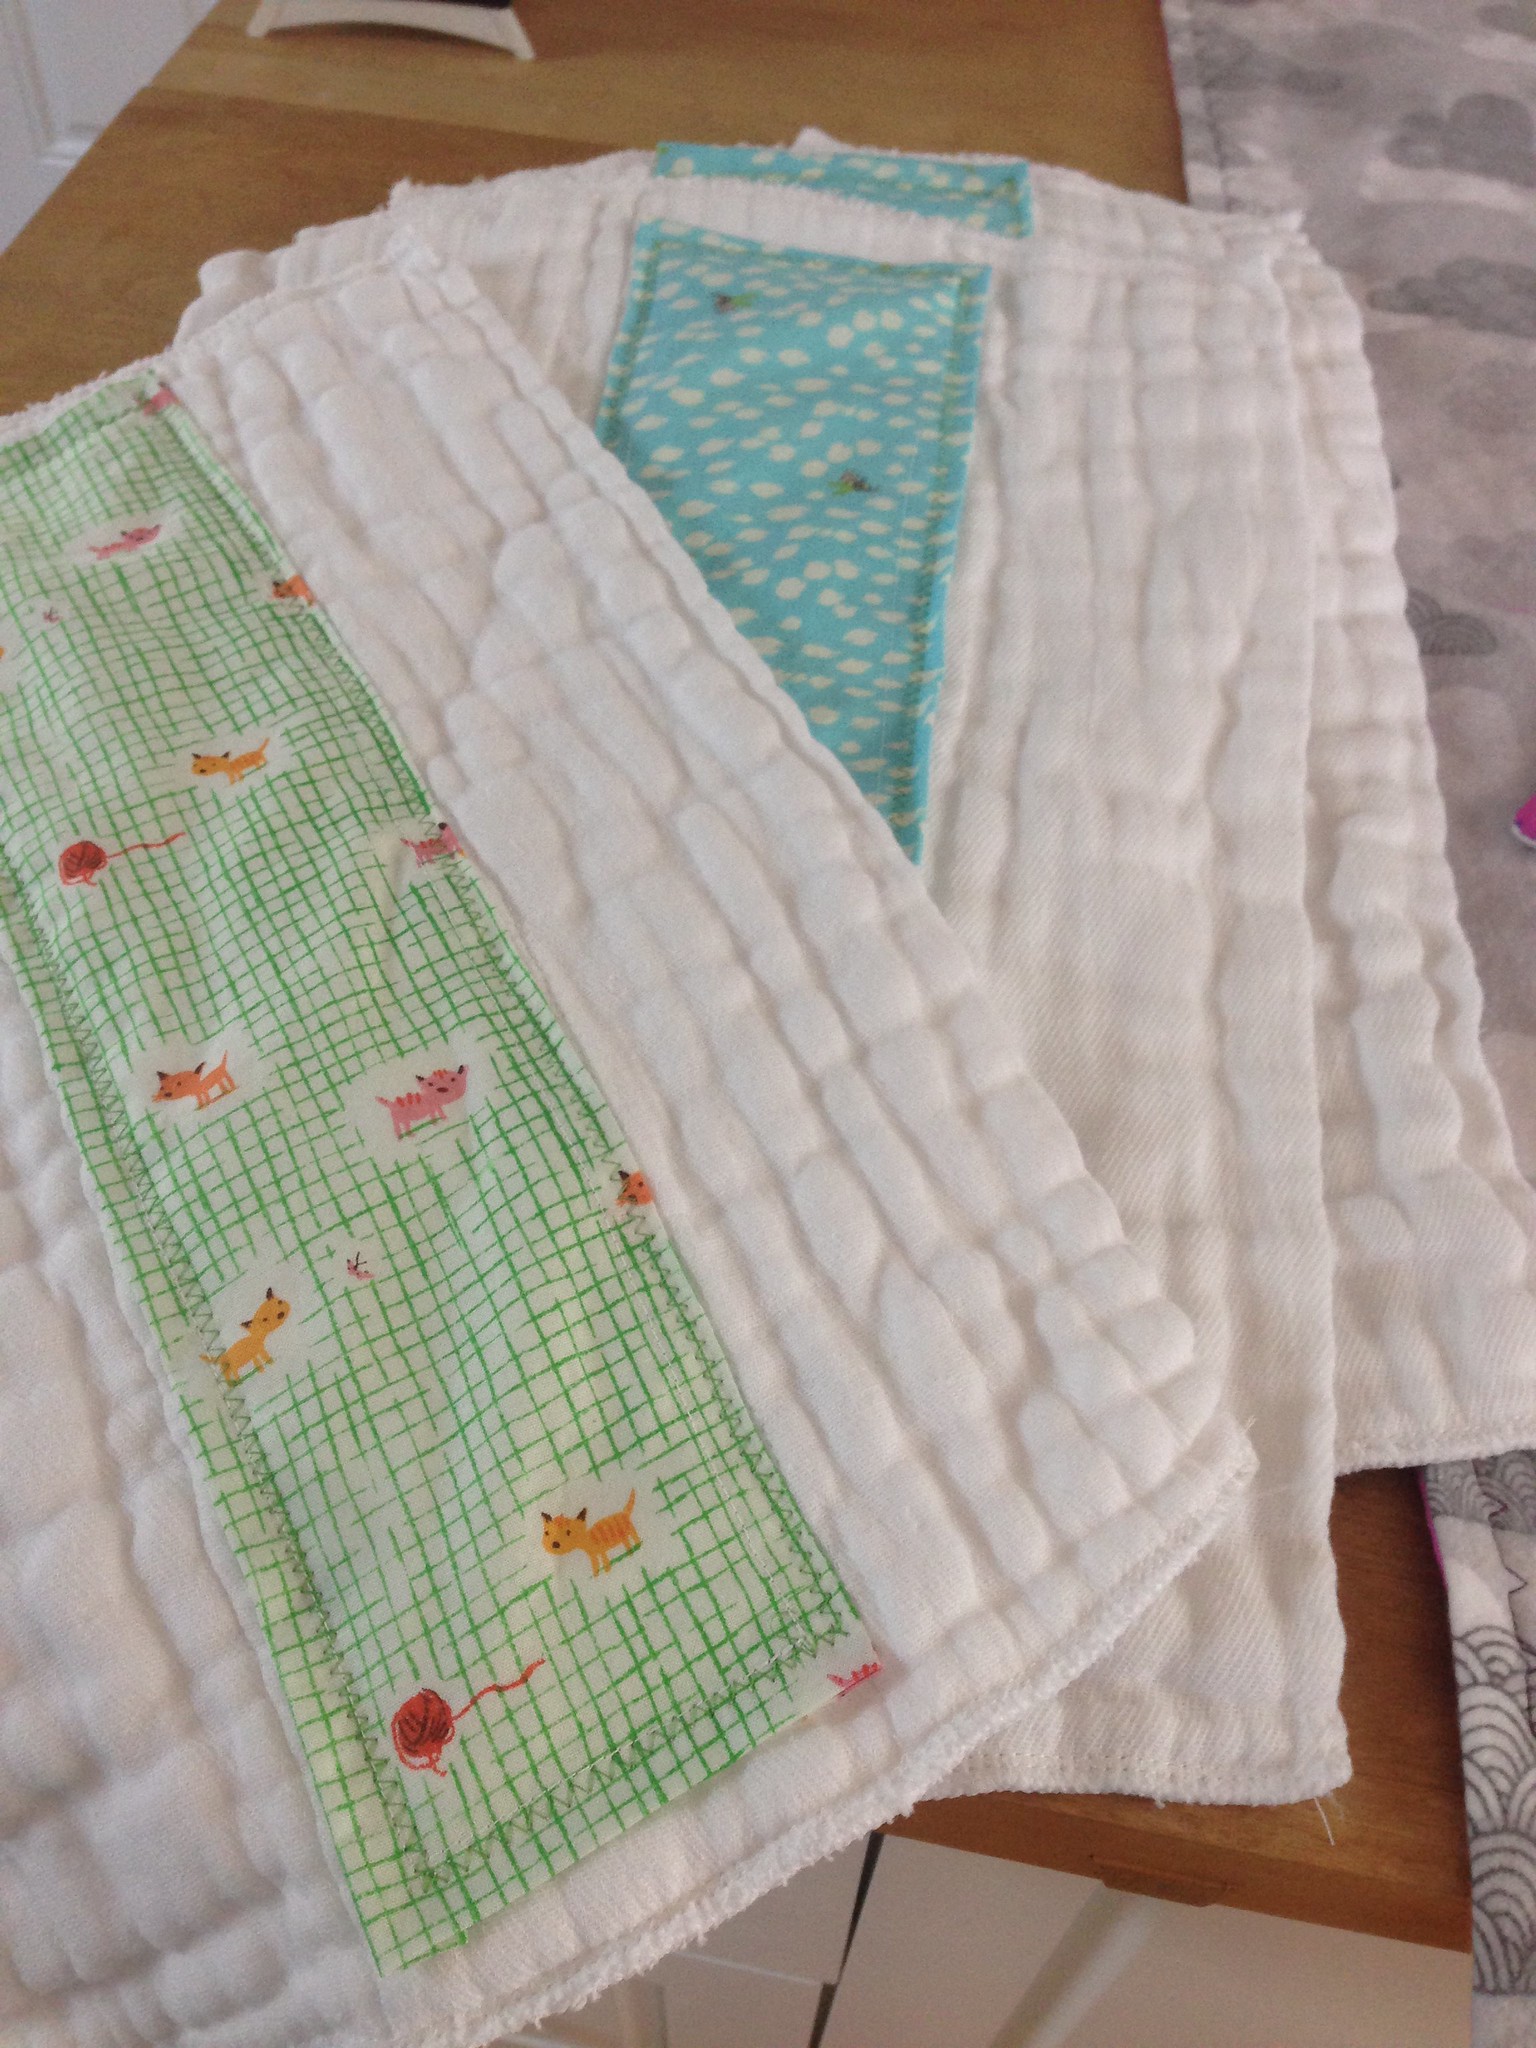
This was faster, and not really as satisfying. Maybe I need EVEN CUTER fabric if I do this again. (See that? I'm already forgetting the teeth-gnashing involved in this project...)
I mailed the crafty goodness off to the expecting couple and they were quite pleased. These were their first burp cloths, so they promptly draped them all over their shoulders as a test run. We were on a Skype video chat and it was quite fun to watch!
Tuesday, October 13, 2015
Onion math
I'm going to a food swap next weekend - organized by some foodie people (women, I assume, but I don't know for sure!) and so of course I wanted to make something delicious, not too hard, not too common, not too expensive... which wasn't an easy task!
In the end I decided to make Caramelized Onion Jam using a recipe I found online. Then I doubled it - and it's a good thing! Onions get very very small when you cook them!
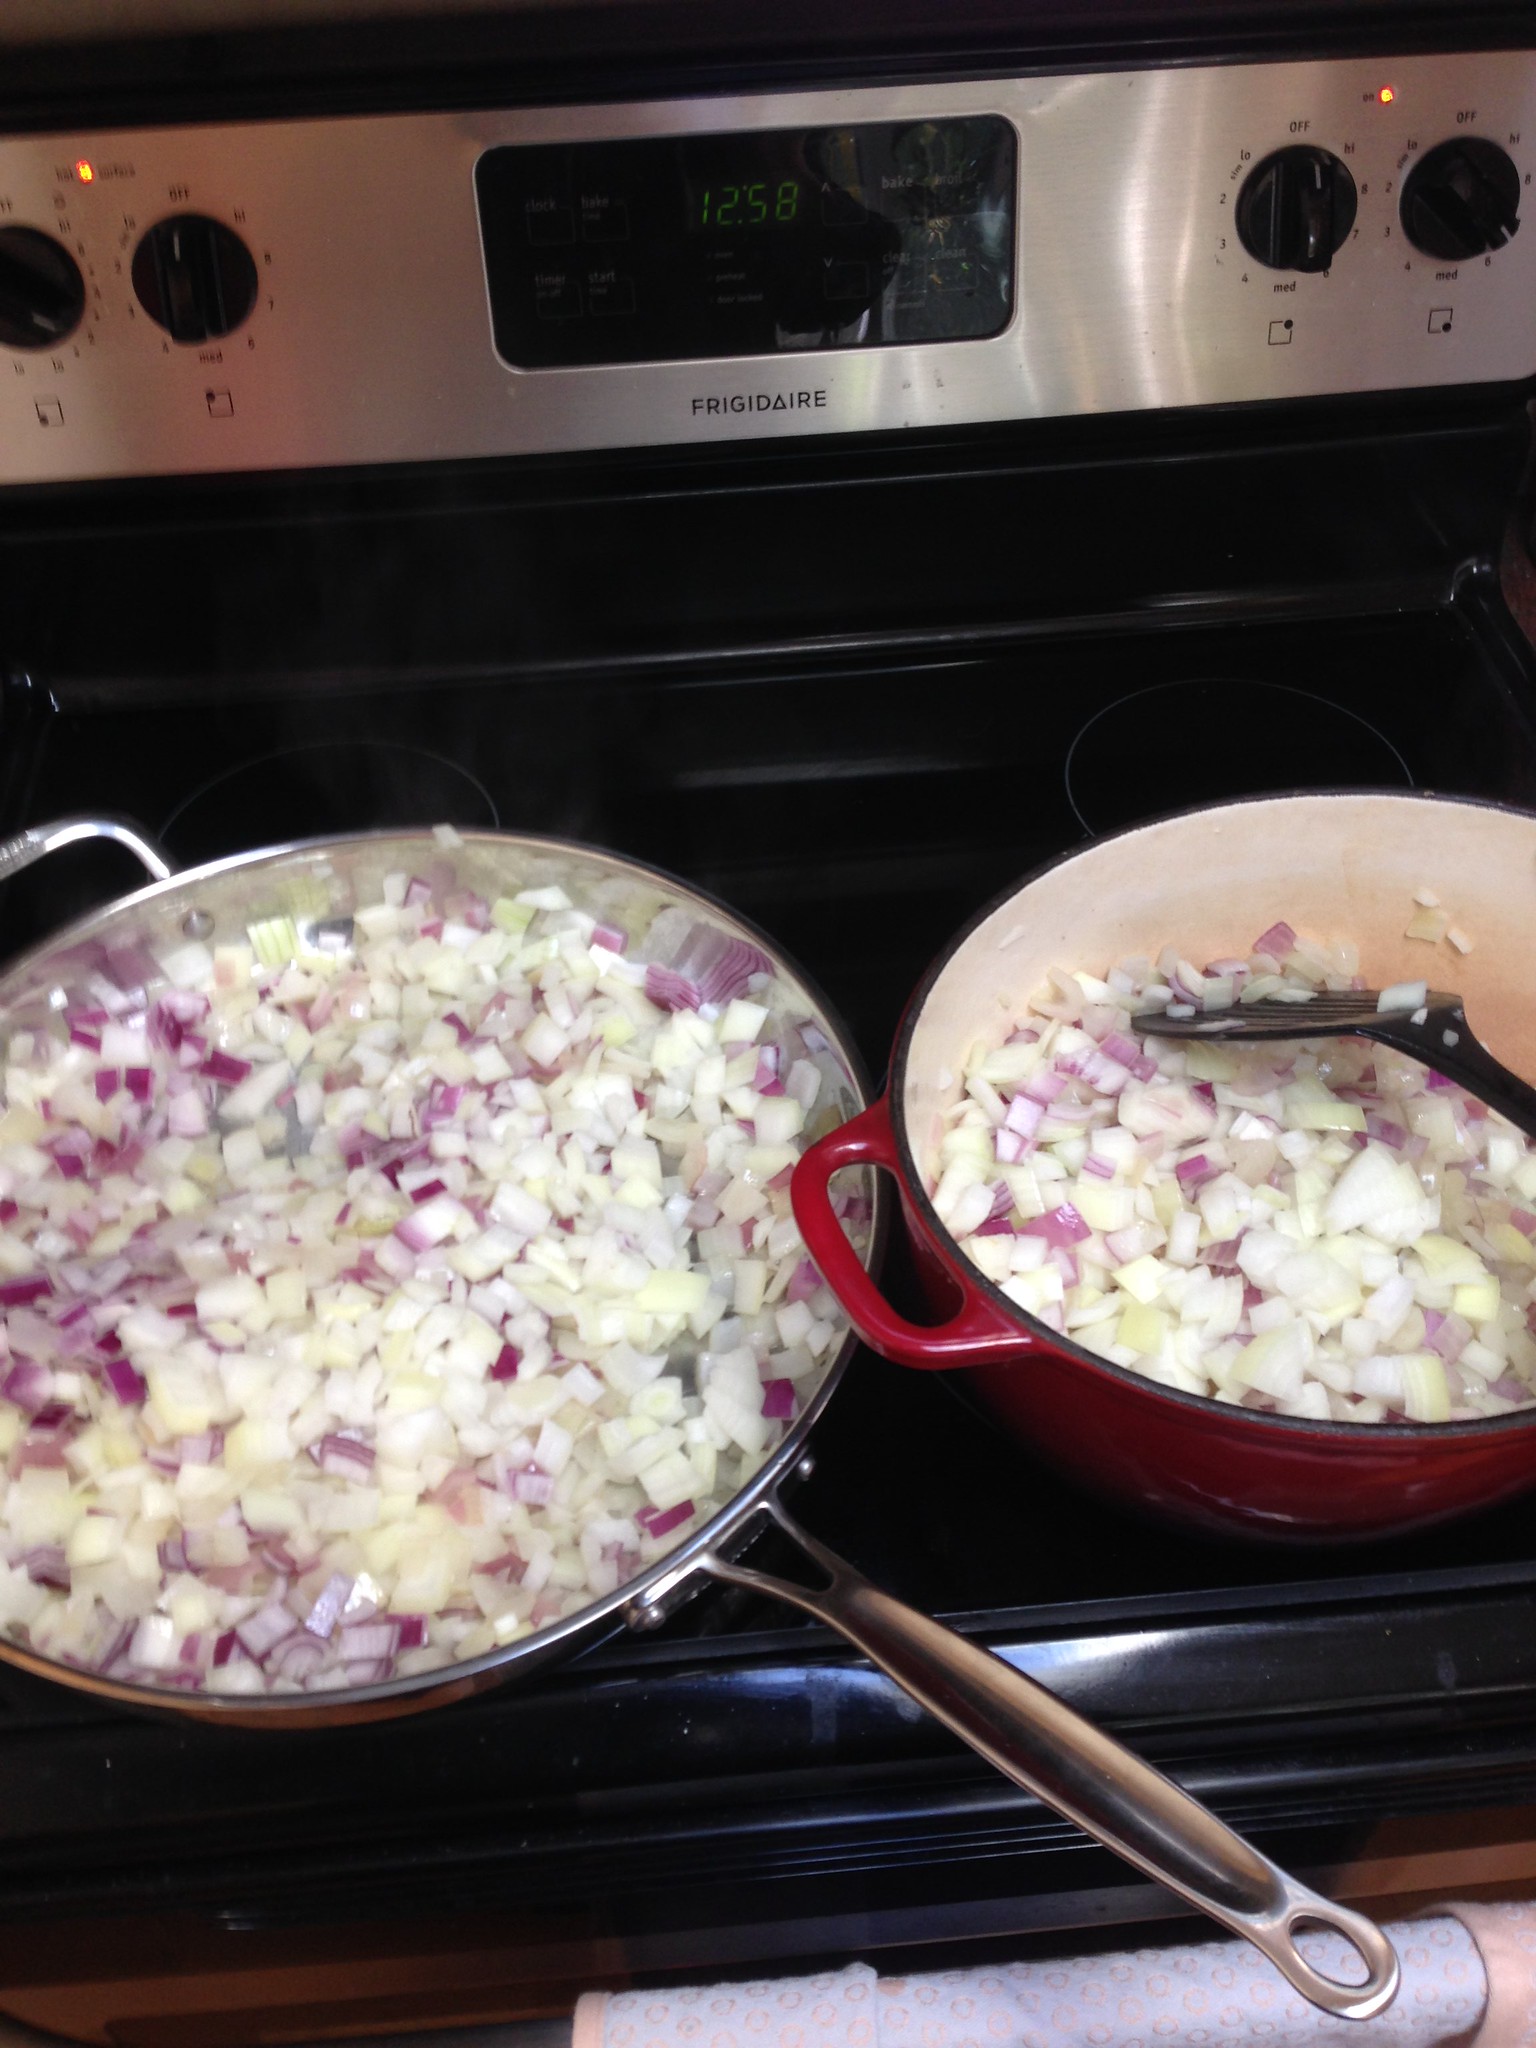
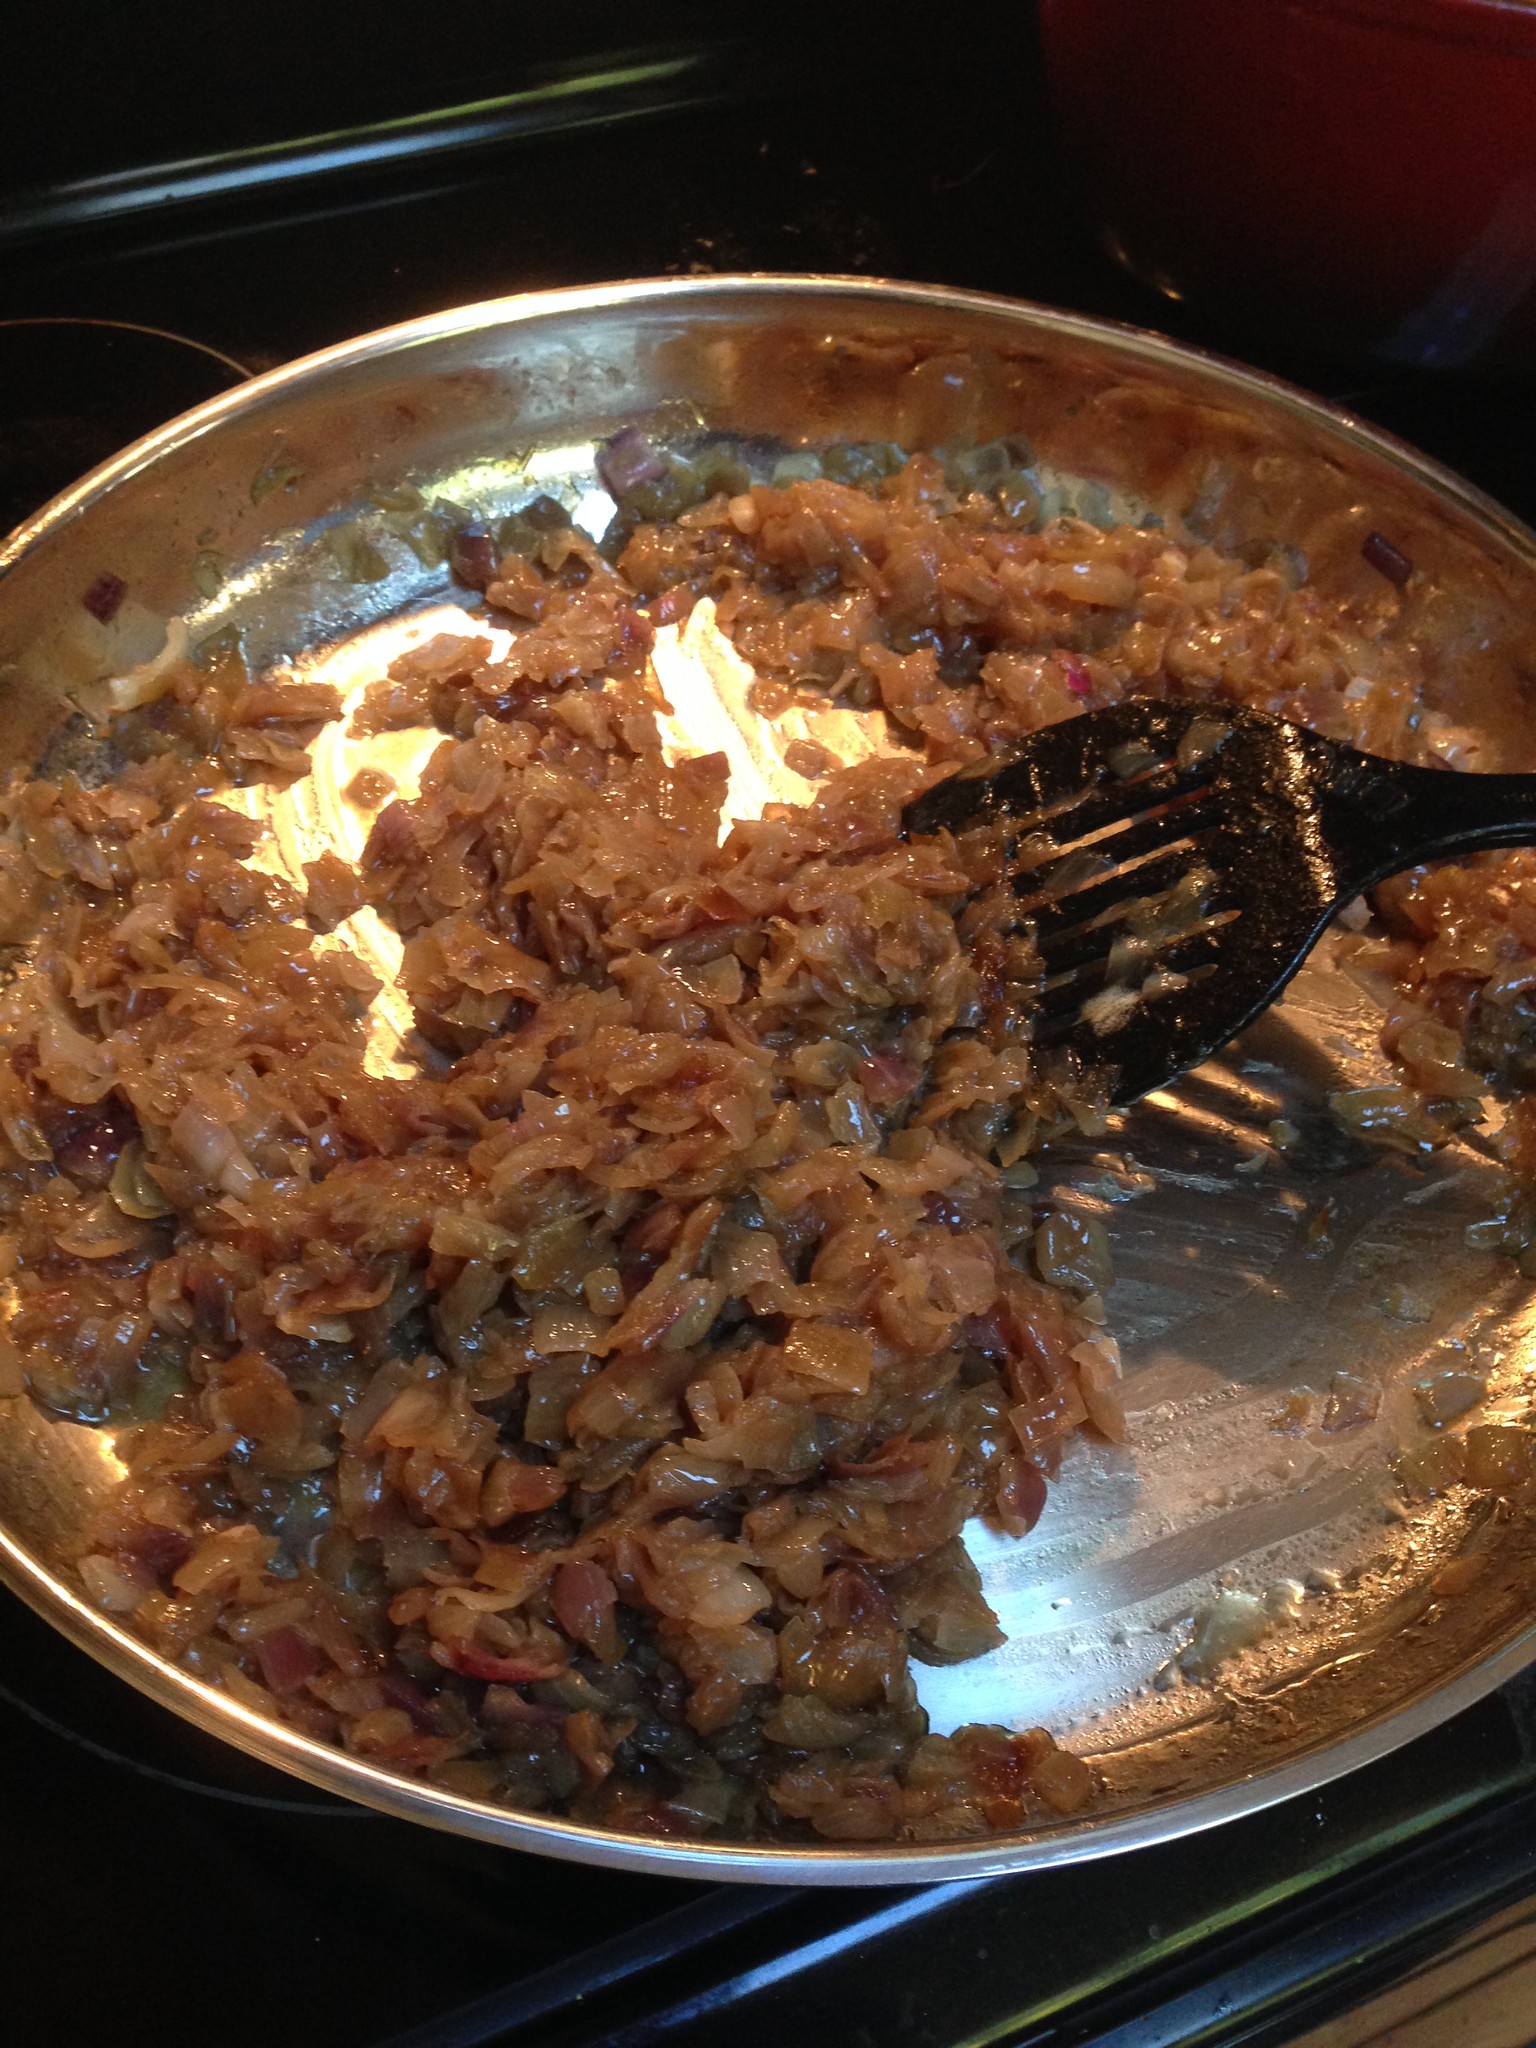
Take 12 onions, chop them and saute until they soften then put over low heat, stirring regularly, for a few hours. I think mine took about 3 hours to fully caramelize.
12 onions - in two pots!
12 onions, 3 hours later, consolidated in one large skillet
Add brandy, vinegar, honey, sugar, salt, pepper, and rosemary.
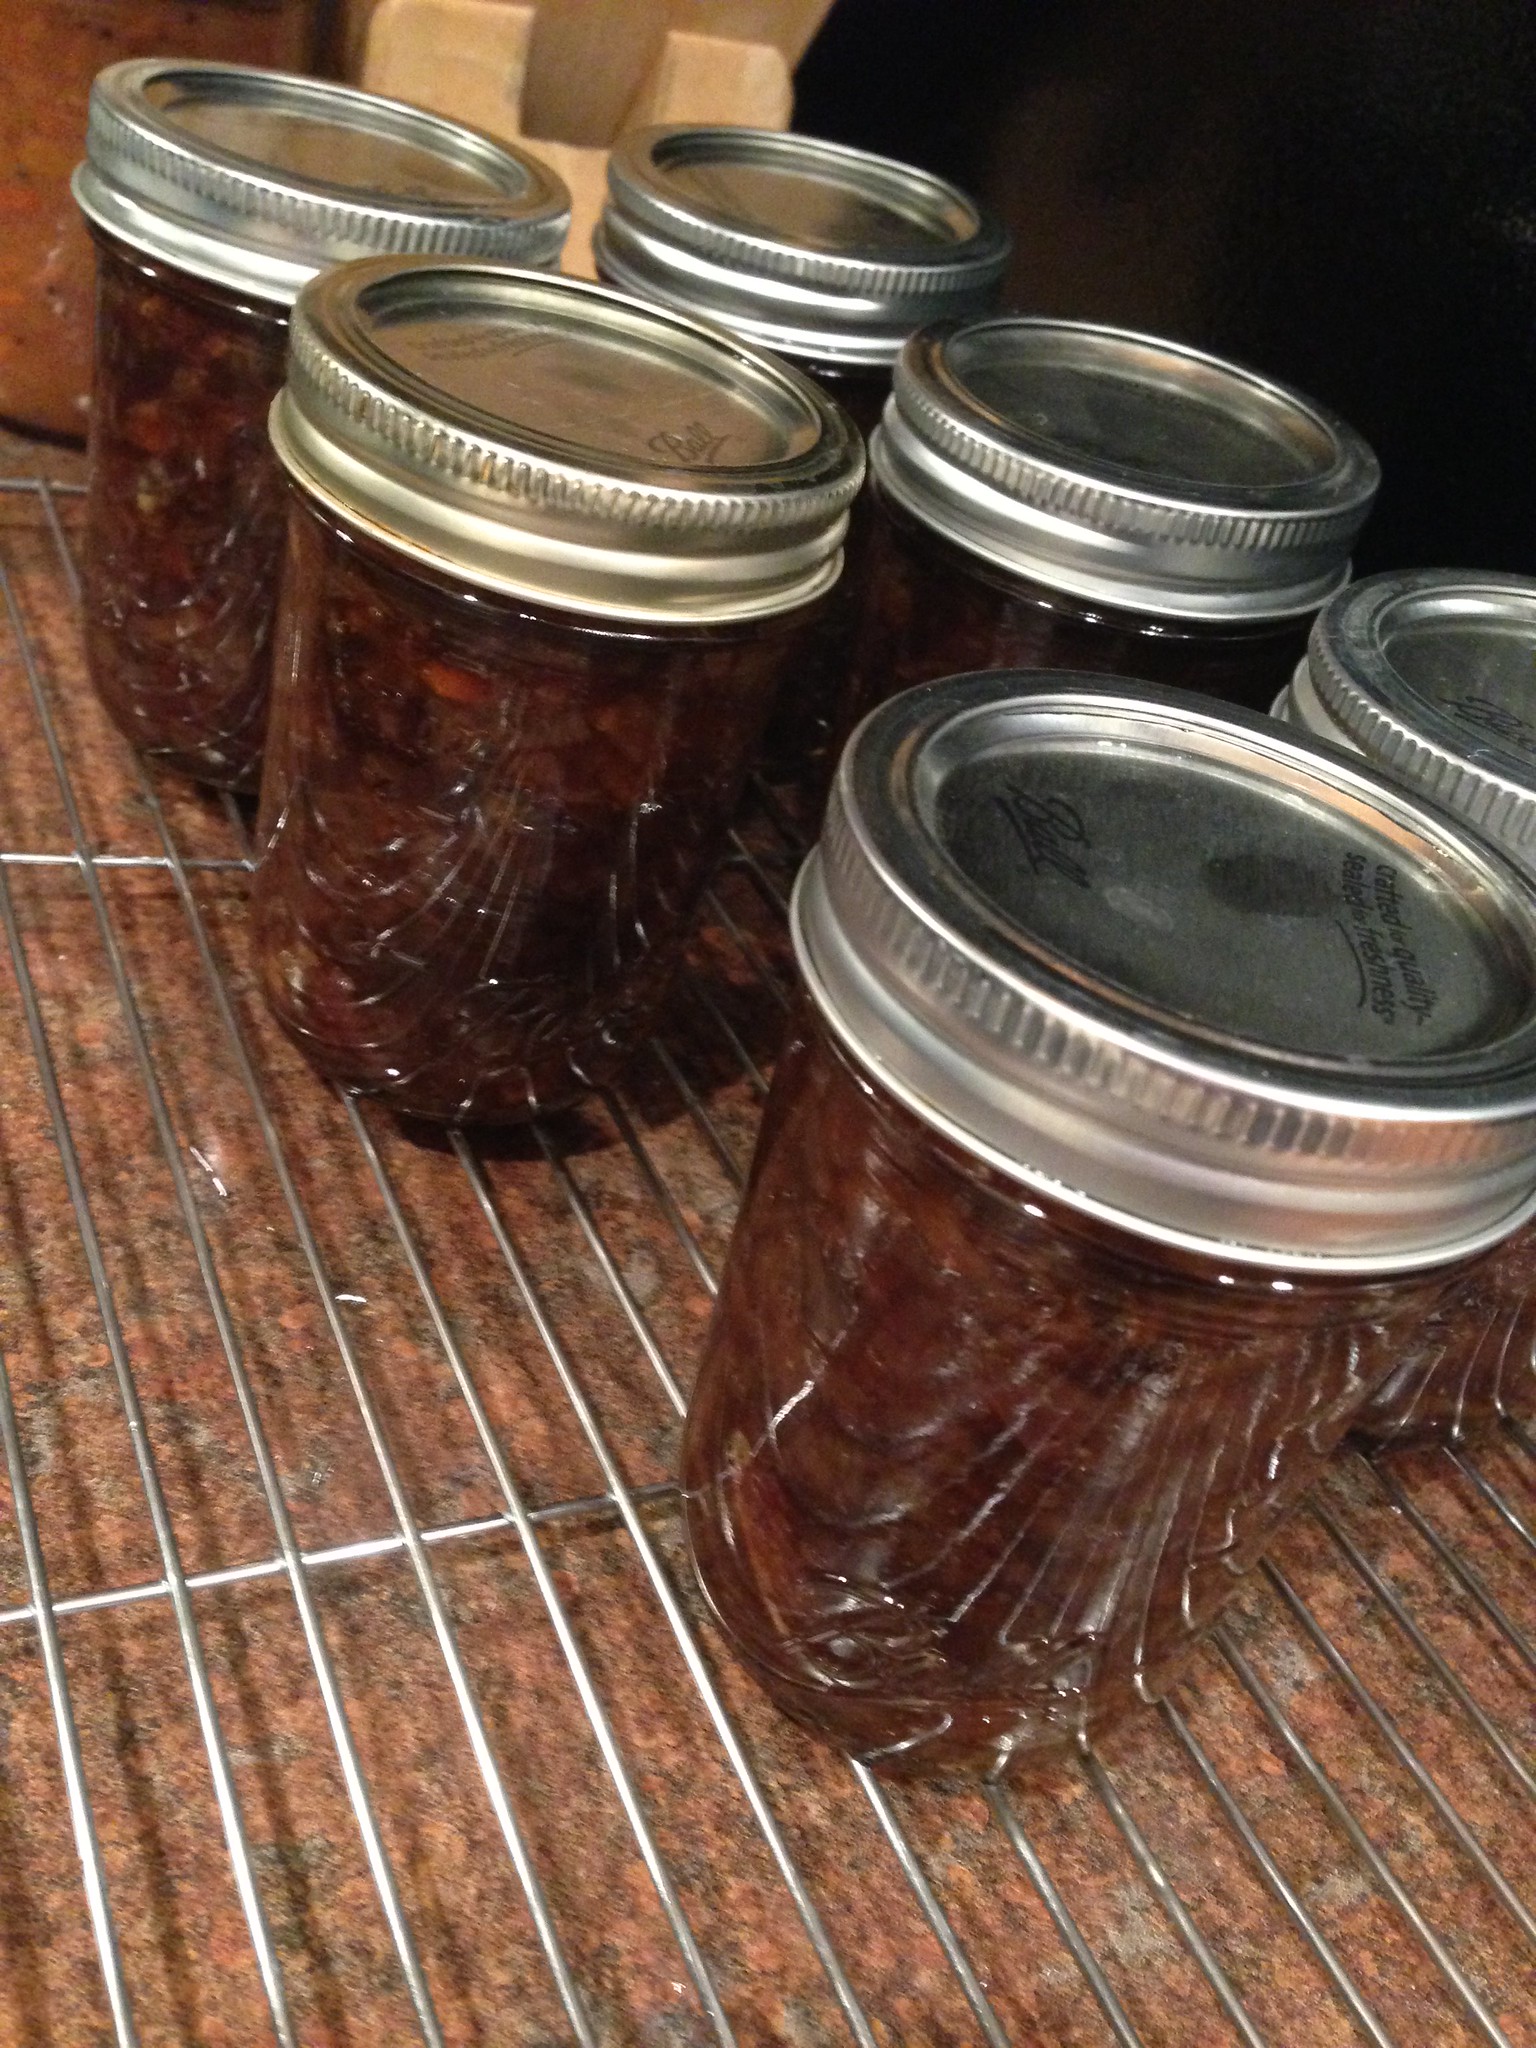
In the end you'll get six 8-ounce jars. That's two onions per jar!
The way the swap will work, we'll let everyone sample what we bring, then we draw numbers and take turns picking what we want to bring home. If you bring six items, you'll go home with six, in theory.
I made another smaller batch of the jam, so I have a total of nine jars. One will be for sampling, one I may hold back, and that means I'll bring 7 to the swap.. I think. We'll see!
Want to know how the jam came out? Check out this later post!
Labels:
2015,
fall,
October,
preserving
Wednesday, October 7, 2015
Pomegranate goodness!
I know, I've been HORRIBLY lax! It's been a super busy year - I got a new job that requires a lot more focus and brainpower than my last one did: I traveled less and worked more and cooked less and all in all - not a lot of blog-fodder.
But, I was going to a ladies' dessert & drinks night this past weekend, and I was trying to think of something seasonal, and appealing, and easy, and not too dish-intensive. (what has become of me? so sad!)
Out of nowhere I recalled that I'd seen pomegranates at the grocery store, and I wondered if anyone had put them in brownies before? I turned to the internet and indeed they had.
Very easy recipe:
A. melt together: 170g dark chocolate, 70% and 1/2 cup butter
B. while that cools, whisk together: 3 eggs, 1 cup white sugar, 1 tsp. vanilla, 1/2 tsp. salt
C. stir A into B, then stir in 1/2 cup all purpose flour
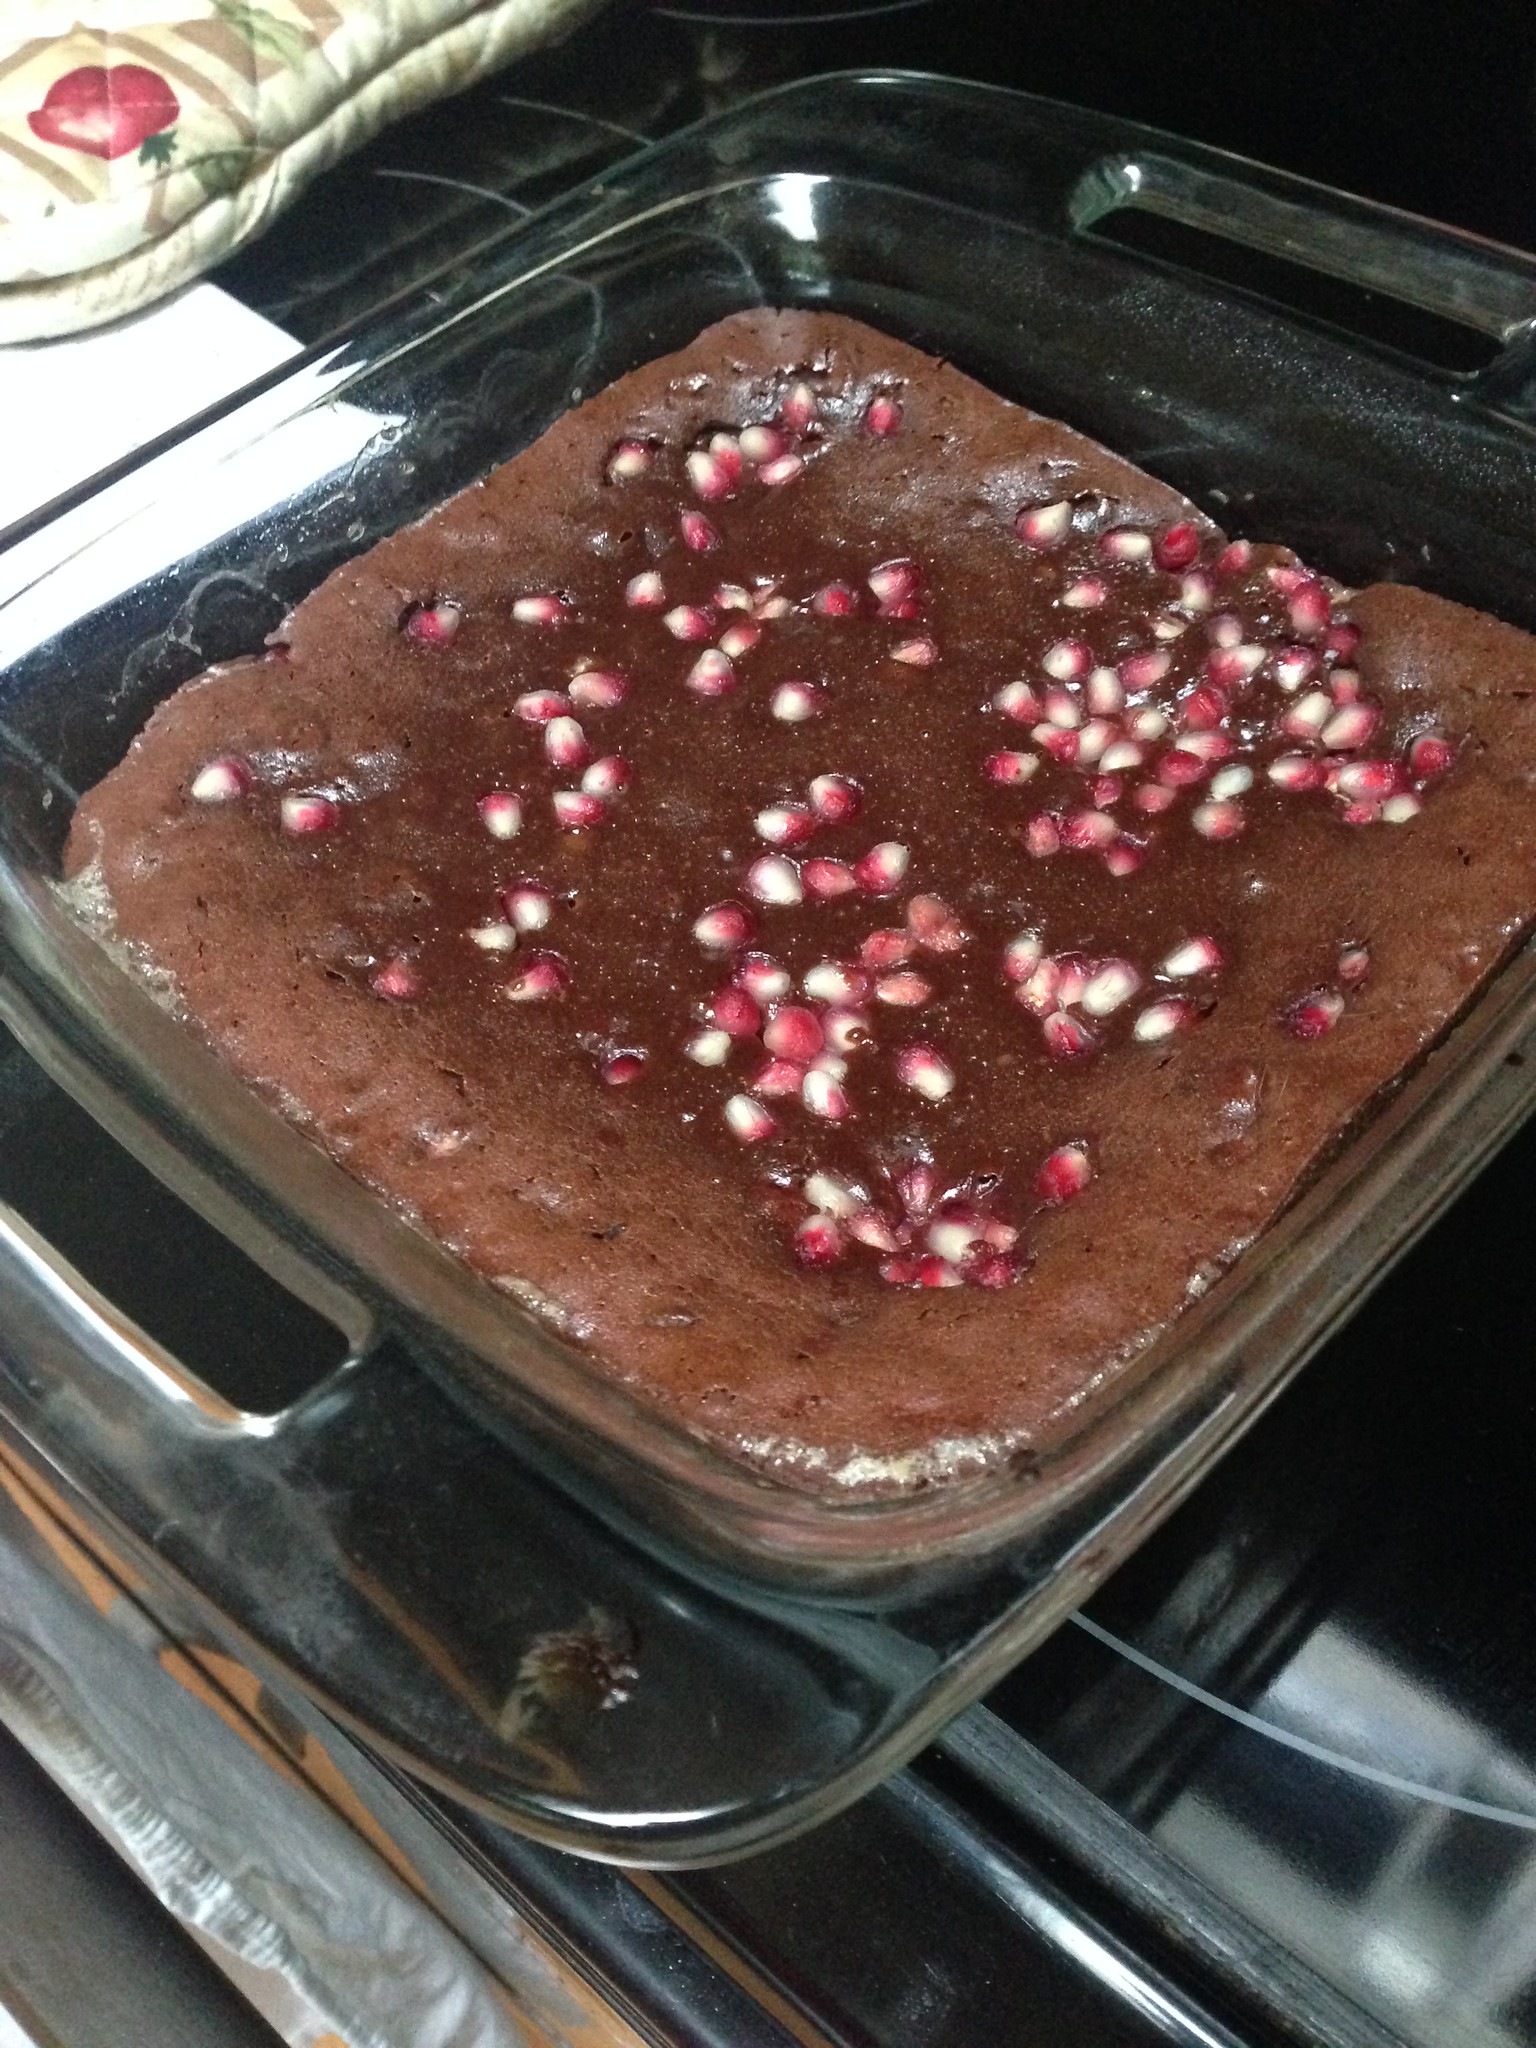
D. Finally, stir in MOST of the seeds from 1 pomegranate - reserve about 1/4 c (see note below about seeding a pomegranate). Then you sprinkle the rest of the seeds on top and push them in a little. I should have been more careful about where I sprinkled mine, but oh well!
Put the batter into a prepared pan (sprayed or parchment paper-lined or greased/floured) and bake at 350 for 30-40 minutes. Mine came out more fudgey than cakey and I possibly should have baked them a bit longer, but oh well. I'd done a 9-inch square pan and thought since they were skinny they might be getting dry inside... nope!
I had a bunch of the brownies left over, unfortunately - mine were among three other brownie-type dishes brought to the event. Next time I will be more creative!
Note: While I was at that internet searching business, I watched a video about how to seed pomegranates. I find it really annoying that so many blogs are turning to video content (I just want to read!!!) but I did watch a video for this technique, and then I tried it. It works! You cut the pom in half, pull the edges apart to loosen up the pith a bit, turn the half upside down over a bowl, and smack it repeatedly with a large wooden spoon. This seems to shake the seeds loose from the pith without making a giant splattery mess.
Subscribe to:
Comments (Atom)
