Showing posts with label recipe. Show all posts

Monday, August 29, 2011

Recipe: Birthday muffins!

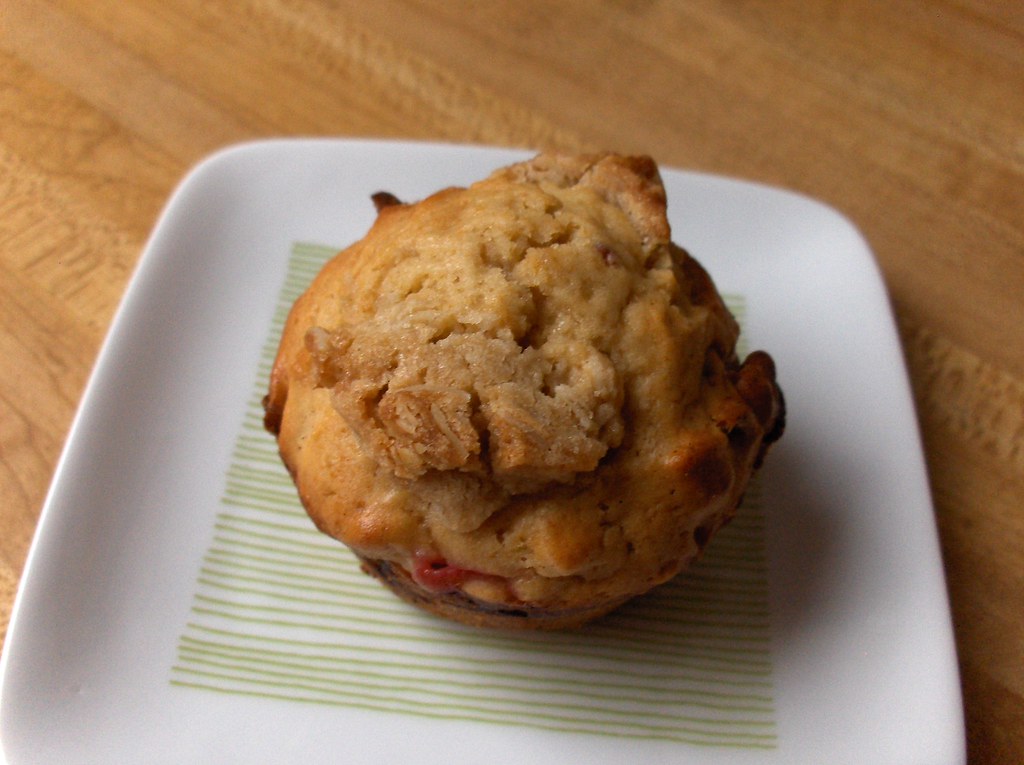
It was my birthday last week (yay!) and I made plans to go to Yosemite with some friends. I had my birthday-morning free and wasn't working, so I whipped up some muffins to bring along.

I used the crumble topping from 101 Cookbooks' Oatmeal Muffins - as she warned, the ingredients for the crumble make more than double what you need for those muffins, and in fact I still have a bit of the topping in my freezer. Therefore if you want to make just enough for one batch, I recommend the following proportions:

1 oz / 27 g flour
5 oz / 15 g rolled oats
.8 oz / 22 g natural cane or brown sugar
pinch fine grain sea salt
.8 oz / 22 g unsalted butter, melted

After you've melted the butter, stir in the rest, and scrape the resulting rather firm goo into a flat patty and freeze a bit. I think the idea is that it's then easier to break it up into bits to put on the top of the muffin batter - but I had to hack at it since I froze it too hard. So, be advised.

The muffins were based on the genius recipe called Muffin Madness in the invaluable cookbook Moosewood Restaurant Cooks At Home. Then I modified it - of course.

Combine:
2 large eggs
1/4 c vegetable oil
1/4 c plain  yogurt
3/4 cup or a bit less brown sugar
1/2 tsp or a bit more vanilla extract (I used vanilla paste because I lurve it)

In another bowl, mix together:
2 c flour
1 tsp baking powder
1/2 tsp salt

Stir the dry into the wet. Then add:
about a half-cup or so pitted sour cherries
about a half-cup or so toasted almonds - I buy them already chopped somewhat roughly. In fact they look about like cherry pits which can be a bit disconcerting as you chomp into the muffin.

Pour the batter into muffin cups - makes about 12. Be sure to top with some of the crumble topping! Bake at 350 for 20 or so minutes.

Sunday, March 27, 2011

Recipe: Skillet granola

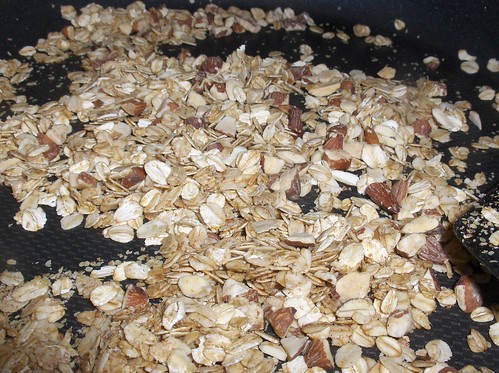
Waffles are grand but admittedly a bit messy. An easier and still delicious-smelling weekend breakfast option is Skillet Granola!
It's very easy and quite flexible:
- melt some butter in a pan
- sprinkle in the oats and toast them a bit
- sprinkle on a little salt, and some flavoring - you can never go wrong with cinnamon!
- add a little liquid sweetener. I use agave nectar; honey or thinned molasses would probably do quite well.
- near the end, if you want, add texture with nuts or wheat germ. I added both this time.

Once it's yummy-smelling and lightly toasted, let it cool off. I like it with plain yogurt.

Saturday, February 19, 2011

I am the mistress of waffles!

...or at least I made some really yummy ones today. I bought a waffle maker after Christmas and was surprised to learn they're not as easy as my mom's always-delicious offerings led me to believe. I knew they had to be eaten immediately but didn't realize how soggy they could become, and so quickly!

So I've been experimenting a bit. My base recipe is from good 'ol Better Homes & Gardens - that cookbook is a staple on my shelf. I've halved their recipe because even that makes more than I can eat in a morning. I tend to freeze the rest and toast them over the next week or so. (I've had toasted waffles for dinner on more than one occasion!)

Anyway that recipe was a good base but I wanted some ideas for making the waffles a bit more crisp. I did some poking around and tried some techniques this morning with good success. There's still more tweaking to be done (and they still got soggy when they cooled!) but I am well on my way to being a Waffle Star.


Rainy weekend waffles
Turn on the waffle maker when you start combining ingredients, so it's ready to go when the batter is.

In one bowl, combine the dry ingredients:
3/4 c flour
1/8 c corn starch
1 1/2 tsp baking powder*

In another bowl, combine the liquid ingredients:
5/6 c milk **
1/4 c vegetable oil
1 tsp vanilla ***

In still another bowl (no, I do NOT have a dishwasher), whisk vigorously until frothy (you can come back to it after you rest):
3 T egg whites ****
[or, separate one egg, use the white here, and add the yolk to the other liquid ingredients, above]
1 T sugar

Add the liquid ingredients to the dry ones - stir gently until it's only somewhat lumpy. Gently stir in the egg white/sugar mixture. Make your waffles - they are still best when extremely fresh off the iron, so don't be shy about digging in!

* After reading David Lebovitz's post about non-aluminum baking powder, and because I've often detected trace bitterness when I use a recipe that relies upon it for leavening, I now use Rumford aluminum-free baking powder. You may call me Princess.

** I confess I rarely have milk on hand - it's more often half & half for coffee or sometimes whole milk for tea, and I usually don't want to use all of it up in a recipe. As a result, I am rather cavalier with this bit. Today I used some half & half, some milk, and some water - just  make sure the liquid measure is right.

*** I impulsively bought vanilla bean paste at the Bowl a while back, so I tend to use this instead. If I were a scientist I might do side-by-side waffle tastings, but I'm not the Doctor of Waffles, I am the Mistress of them, so I don't have to do things like that.

**** I happen to have a bajillion egg whites in my fridge (okay, 9) after a recent pot de creme episode.

Friday, April 2, 2010

Report from the kitchen: CEM, part two

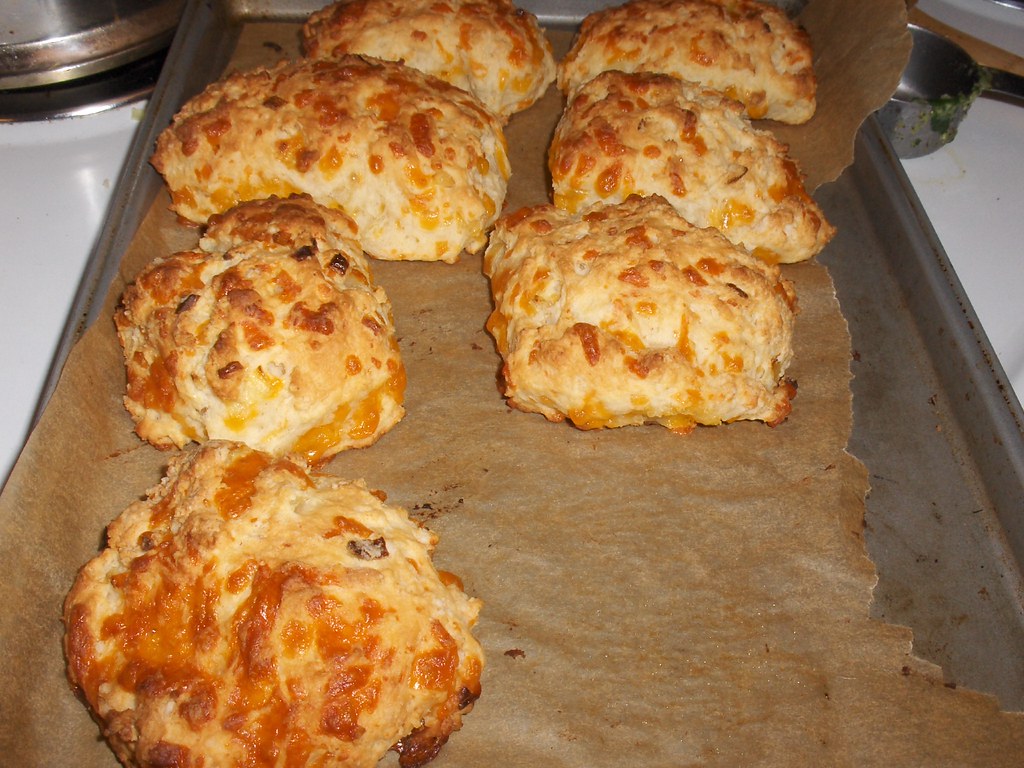
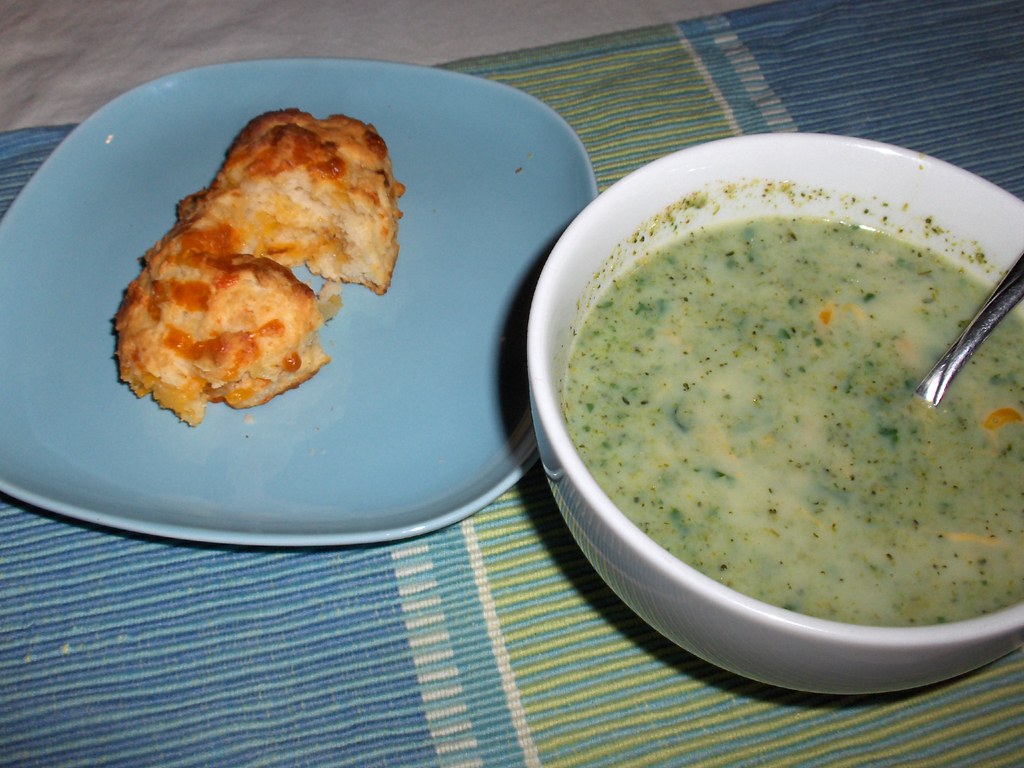
Previously on this blog: I decided to cook two recipes from Cooking Light Annual Recipes 2006, my choice for Cookbook Exploitation Month. I already wrote about wandering vigorously off-course for the broccoli soup. Well, I also had to punt for the other selection: Sour Cream, Cheddar, and Green Onion Biscuits (page 63).


To recap, it was a cruddy rainy night and I was commited to NOT going out to the store. I almost immediately realized that I didn't have any green onions, but that was easy: I kept a quarter-onion out of the soup, and sauteed it to add sweetness. I already knew I was subbing yogurt for sour cream: Yogurt, Cheddar, and Sauteed Onion biscuits were a BIT off course but not too bad. Only after I finished making my Broccoli (-spinach) Soup did I realize I'd used up all the milk... and remember that my recipe called for 1 cup of buttermilk as the main liquid source! (I'd intended to cheat and sour it with lemon juice.)

I'd already measured out the dry ingredients (flour, sugar, baking powder, salt, and baking soda). I didn't have milk. I didn't feel like cutting butter into the dry ingredients anyway, AND I'd loaned a friend my cookie cutters. All in all this recipe had to be scrapped.

I got lucky on the first shot, pulling out my trusty old Moosewood Restaurant Cooks at Home (the absolute best in their series). There was a recipe for Savory Scallion Biscuits, which did NOT use milk or butter! Of course their recipe didn't call for onions or cheddar, but I stuck 'em in anyway. Once you have a feel for muffins and biscuits, you can fake them pretty well (witness my Company-Worthy Muffins!).

In the end they came out GREAT. In fact I had trouble eating only one!


Semi-Improvised cheddar-onion biscuits
Preheat oven to 400
2 cups flour
1 T sugar
2 tsp baking powder
1 tsp salt
1/4 tsp baking soda
2 T oil
3/4 c shredded cheddar
1/4 onion, sauteed until soft
~3/4 - 1 cup non- or low-fat yogurt

Mix the dry ingredients; add the wet ingredients. I added the yogurt in 1/4-cup increments until the dough hung together without being too wet and used a bit less than one cup.

Line a baking sheet with parchment paper, put the dough on it, pat into about 1 1/2 inch thickness, cut into 8 pieces, and separate the pieces from each other. Bake for 20 minutes.

Thursday, April 1, 2010

Report from the kitchen: CEM, part one

Reader, I tried. I have a really hard time sticking to recipes!

As I noted earlier this week, a few years ago a blogger decided to call April Cookbook Exploitation Month (hereinafter referred to as CEM). I decided to play along this month, and chose Cooking Light Annual Recipes - 2006.

Tomorrow is my day to bring lunch for lunch group (by the time I finally write about that, anyone with half a brain will have figured it out, and indeed it's no secret). I decided I'd get a jump on this CEM-thing, and picked not one but TWO recipes: Broccoli Soup (page 13) and Sour Cream, Cheddar, and Green Onion Drop Biscuits (page 63).

It's a rainy, drear evening and I wound up running a wine-group-related errand with a friend after work. I was home by 6:30, not terribly hungry but low on fuel. I'd planned to roast asparagus for dinner, but I don't feel like asparagus in weather like this, and I ignored the fact that I had no Plan B. Instead, I started cooking!

 The recipe calls for 6 cups of small broccoli florets. I immediately discarded that as a suggestion: I had leftover roasted broccoli from last night (perhaps 3 cups). I also had a bunch of uncooked broccoli, and wasn't about to throw away/compost all those stems when I could sneak them into soup that was going to be pureed anyway. I suspect the recipe calls for small florets to make it a faster-cooking meal.

The recipe also calls for 2 cups chicken broth; instead, I defrosted 32 ounces of home-made chicken stock, then also put in maybe 4 cups of water and some concentrated chicken flavor made after I roasted a chicken. Slowly my food-deprived brain let me know that I was WAY off-course with this recipe - I'd used at least double the broccoli and triple the liquids called for. But, by the time I figured that out, it was too late, so I figured I'd fudge it. Once the liquid was hot, I cooked the broccoli for a total of maybe 10 minutes (cleverly putting in the stems for a while, then the florets, and then the already-roasted broccoli!) before using my immersion blender to puree the heck out of it.

The next part of the recipe calls for 2 cups of milk with 2T flour; I emptied the carton into a measuring cup and found I had about 2 3/4 cups, so I boosted the flour a bit. Finally, I realized I could eat soup for dinner (duh.. told you I was short of brain power) so I chucked the spinach I'd been wilting into the soup and pureed it as well. I added a dash of nutmeg and called it good.

So, my take on the Broccoli (+spinach!) Soup:
~6 cups liquid, at least some of it broth of some sort
~8-12 cups broccoli, chopped - put the stems in first to give them a head start cooking
~3/4 of a medium-sized onion, diced
~1/2 pound spinach, sauteed/wilted 
cook the broccoli & onion in the borth until the broccoli seems done; puree; add the spinach.
In a separate bowl, combine:
~2-3 cups milk
2-3 T flour
then add them to the soup and let it cook a while longer. Sprinkle in just a bit of nutmeg. I used about 1/4 tsp for my monster vat of soup. Consider adding salt and pepper. Tonight I added Cheddar cheese.

I have been dying to find a use for some really interesting toasted pumpkin seed oil I found, so I may bring that for people to use as a little topper.


 Stay tuned for part two of my attempt to cook from a recipe!

Wednesday, February 24, 2010

Calling in the librarian super powers!

I went to Rhode Island for five days to hang out with my parents & siblings. Since 1996, my sister and younger brother and I have cooked an elaborate feast on Christmas Eve; since John missed Christmas this year, we planned to do one of our sessions during this visit. We chose a greatest hits theme, picking some of our favorites from the last 13 menus (most of which I have, at least the names of the menu items).

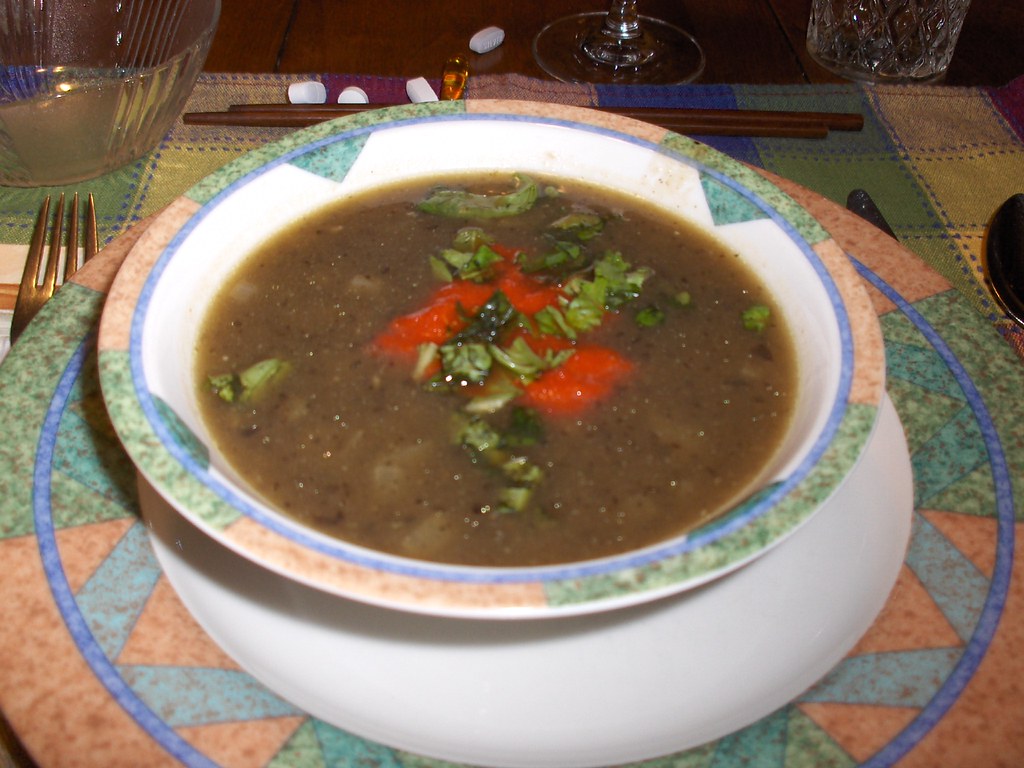
In 1996, Mary made an amazing roasted eggplant & red pepper soup. We knew that had to be on the menu, but when she got to RI, she realized she'd forgotten to bring the recipe, the book was out of print, and she couldn't find a similar-looking recipe online.. Librarians to the rescue! We knew the title of the book (Healthy First Courses) and author (Diane Rossen Worthington), and I used Worldcat to see what libraries still have the book. As it happens, it's in the closed stacks at Multnomah County Public Library, and one of my friends from grad school works in their Central branch. A quick Facebook message and we were on our way! She found the book, transcribed the recipe, and sent it to me via Facebook. How modern!

So here, for posterity, is the recipe for  
Roasted Red Pepper, Eggplant, and Garlic soup


2 red bell peppers
1 eggplant, halved length wise
1/4 tsp salt
1/8 tsp freshly ground pepper
3 garlic cloves, peeled
1/8 tsp cayenne pepper
1 tablespoon olive oil
1 yellow onion, finely chopped
4 cups poultry stock
4 tablespoons fresh basil

  1. Preheat broiler. Place the poppers on a broiling pan under the broiler about 4 inches from the heat source. Roast, turning occasionally, until the skin is blistered and slightly charred on all sides, 6-8 minutes. Transfer to paper bag, close tight, let rest for ten minutes. Remove from bag, peel charred skin. Halve peppers, remove the stems, seeds, and ribs. [we cheated and used jarred roasted red peppers]
  2. Preheat oven to 400. Coat a roasting pan with nonstick spray. Sprinkle the eggplant halves with salt and pepper. Place them, cut side up, with the garlic in the pan and bake, turning once, until brown and tender when pierced with a fork, about 45 minutes.
  3. Halve the eggplant again, place in food processor. Add the garlic and puree, scraping down the sides of the bowl as necessary, until smooth, but with a little texture remaining, about 20 seconds. Transfer to a bowl and set aside. [we used an immersion blender]
  4. Clean processor bowl and add the bell peppers and cayenne pepper. Puree, scraping down the sides halfway through, until very smooth, about 1 minute. [again, we used the immersion blender, being sure to clean it between batches to keep the flavors separate]
  5. In a saucepan over medium-low heat, warm the olive oil. Add the onion and saute, stirring, until very tender, 10-12 minutes. Cover and cook for 5 minutes longer. Add the eggplant puree and the poultry stock, stir to mix well and bring to a simmer. Stir until well blended.
  6. To serve, ladle into individual bowls. Stir an equal amount of red pepper puree into each serving, without mixing it in completely. Sprinkle 1 tablespoon basil atop each bowl.
It was as delicious as we remembered - definitely a Greatest Hit!

The whole menu:
Roasted eggplant soup
veggie sushi rolls
salad
Vietnamese shaking beef salad
individual baked alaskas (cut an orange in half, hollow it out, fill with vanilla ice cream, cover with meringue, and cook at 500 for 5 minutes. easy and delicious!)

Thursday, February 4, 2010

Recipe: Rosemary shortbread cookies

Allow me a moment of immodesty: these cookies were amazing! I'm particularly pleased because the recipe is an amalgam of several, including (but perhaps not limited to) Cooks' Illustrated, 101 Cookbooks, and Tartelette. So I was quite pleased when my recipe came out great!


Ingredients:
2 sticks butter (room temperature)
1/4 tsp salt (only if using unsalted butter)
1/2 c sugar (or even less - somewhere between 1/3 c and 1/2)
1 3/4 c all purpose flour (consider toasting it!)
1/4 c corn starch
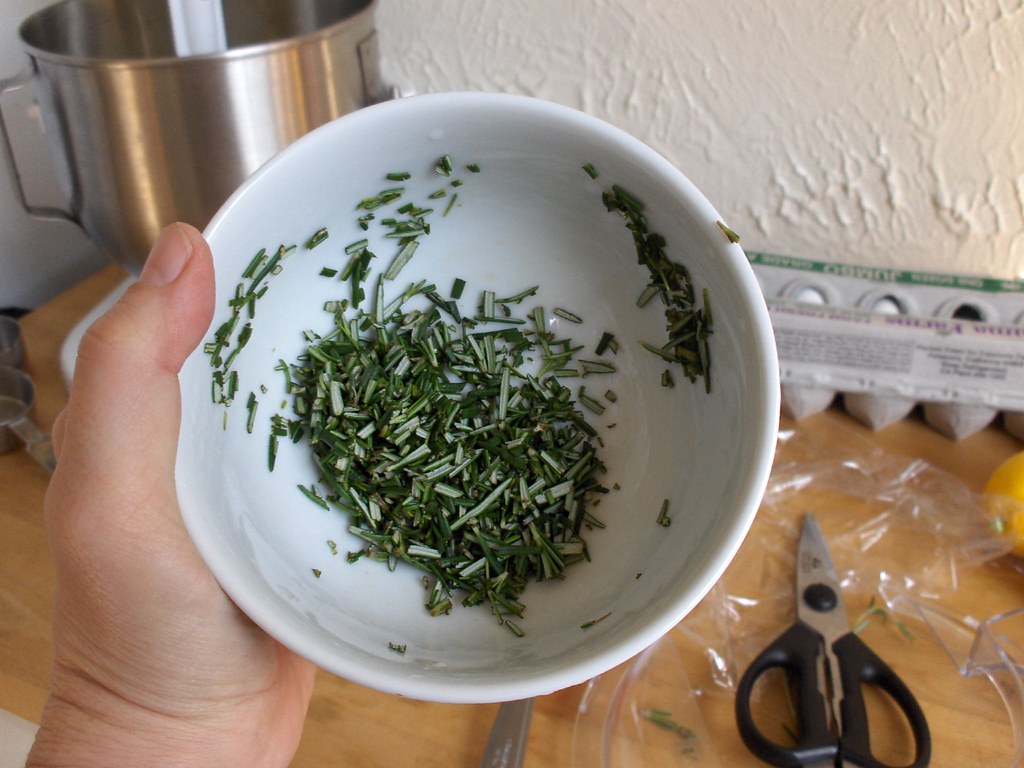
2 T snipped fresh rosemary
optional brainstorm added Feb 2011: salt for sprinkling just before baking

Directions:
Preheat oven to 350

Cream together the butter, salt, and sugar.
Stir in the flour, corn starch, and rosemary.


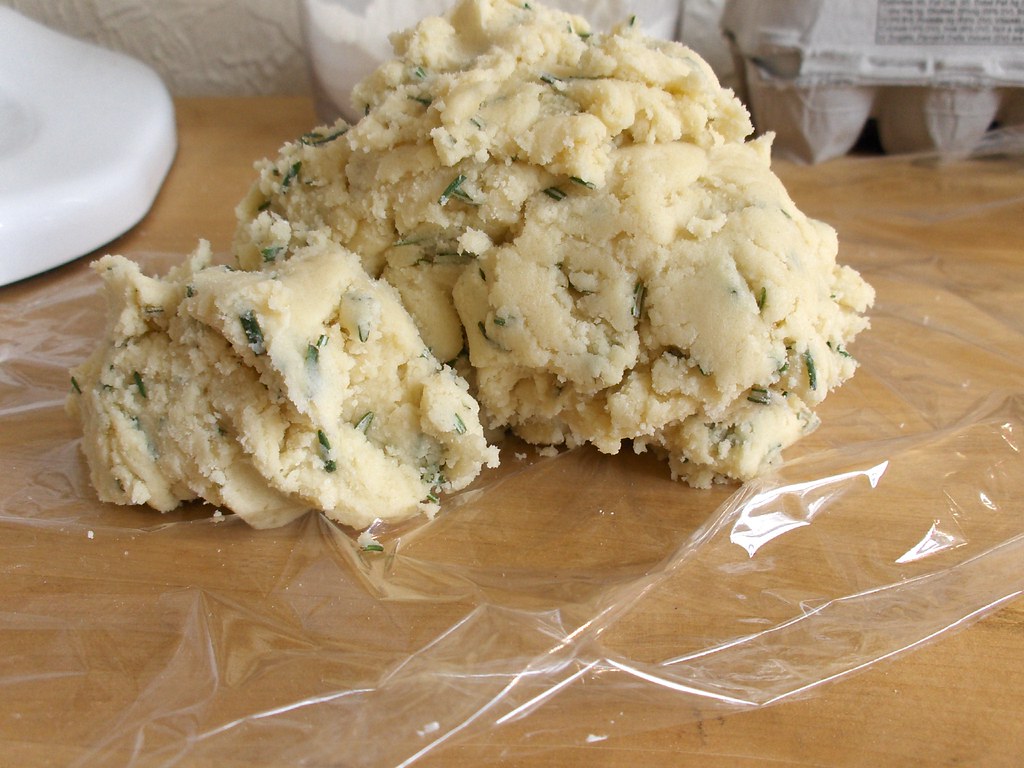
Refrigerate the dough for about 20 minutes. Break off about 1/4 of it and roll it out on a floured surface. Cut out and transfer to a cookie sheet (sprinkle with salt if desired), and bake for about 10 minutes. Remove from the oven while the cookies are still pale.


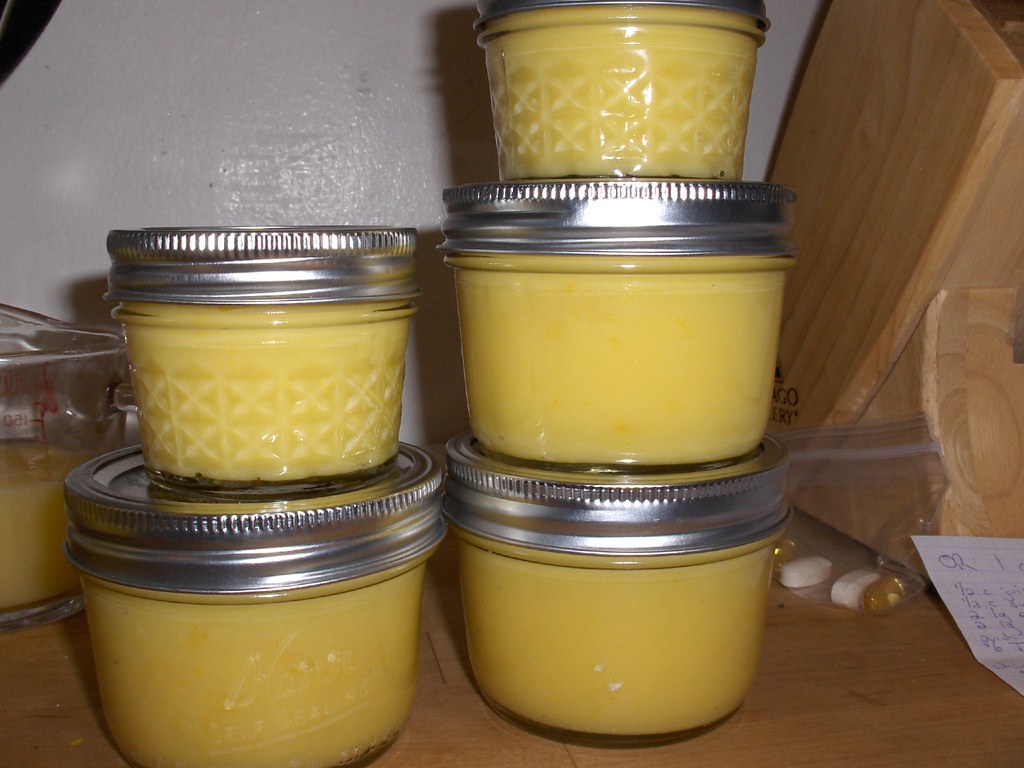
Hint: they're amazing with lemon curd. 

Thursday, January 7, 2010

Recipe: Gingerbread Flan

This is a recipe of my own devising. I was first inspired by a guest post on The Pioneer Woman's blog - the post was for pumpkin leche flan. First I had to get ramekins, so I asked for some for Christmas (and got them, thanks to my family!). (Another food blogger inspired that request - I asked for the ones that Deb recommended.)

But now it's January, and I'm a little bit over pumpkin. Don't get me wrong - I'm still a fool for it, but I've had a goodly amount of it lately. I tried to think what might be wintery, but still good with the carmel that goes with flan, and decided that gingerbread flan sounded intruiging!


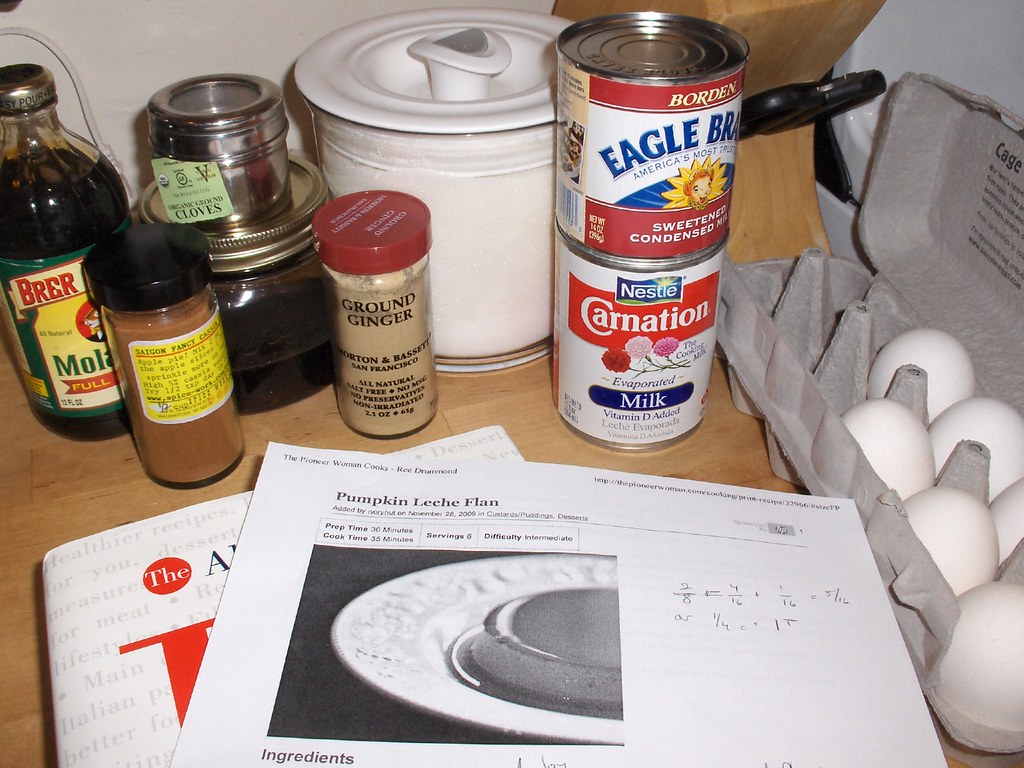
Ingredients, and recipe creation.

So, I searched for gingerbread flan recipes. I didn't get a lot of hits, but this one seemed to have a good spice mixture, so I cribbed that part of the recipe. Finally, I referenced the Joy of Cooking to get their take on flan, and to use for the carmel sauce when I realized I didn't have corn syrup and I wanted to get started. I also wanted to make a bit more filling and a bit more sauce, so I used the Joy of Cooking to help me scale the recipe up just a teeny bit. I also decided to use their slightly-lower-temp & longer-time baking instructions.

So here we go!  

Gingerbread flan

Prep: 
 - Set out 8 small (6-ounce) ramekins.
 - Put a full kettle of water on to boil (lower to a simmer if it's boiling before you need it)
 - Set out a roasting pan large enough to hold all the ramekins; line it with a towel.
 - Remove extra oven racks; leave one at the lowest level (I just moved my other rack to the top slot)
 - Preheat oven to 325.

For the sauce, which gets poured into the bottom of the ramekins:
1 c sugar
1/4 c + 1 T water

Combine the sugar & water in a small pot. Do not stir - turn the burner to medium high and swirl the ingredients occasionally. You want to make sure the water & sugar are mixed well before they start boiling. It will boil merrily along for at least 10-15 minutes (on my dinky stove, at least).

Look at that lovely color! 
I could have used a wet brush to moosh the sugar on the side back into the syrup.

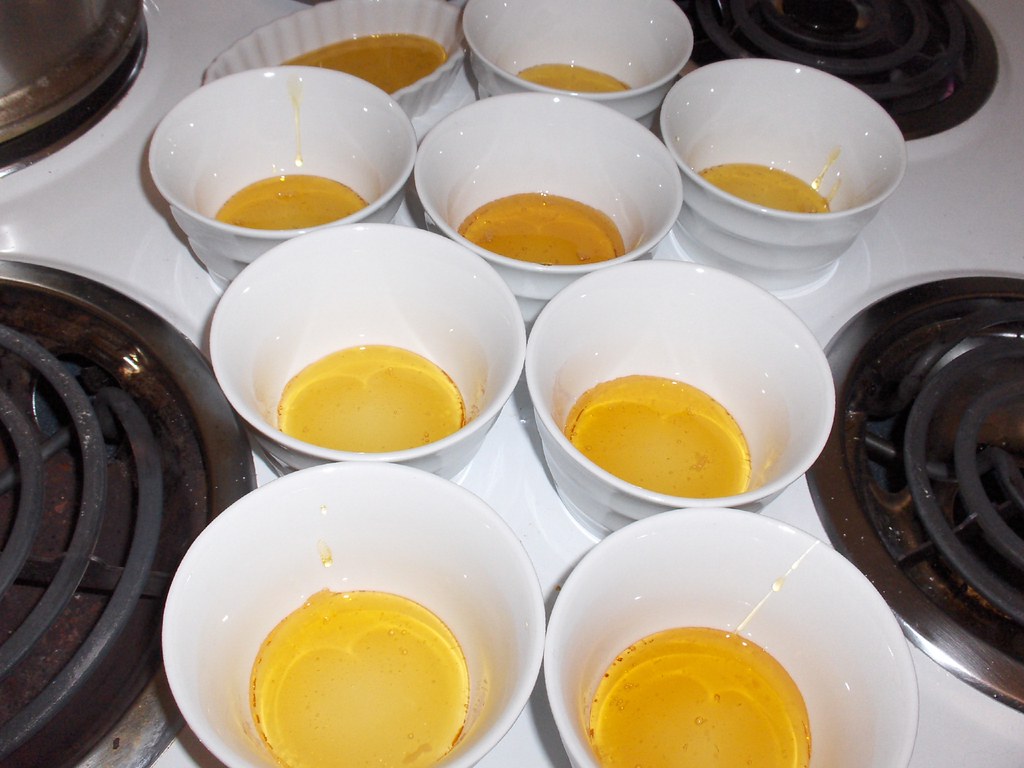
Eventually it will turn golden in color - keep an eye on it, and when it's a nice amber tone, remove it from the heat and carefully pour it into the ramekins (have them on your stove or some other nearby and easy-to-clean surface). Let the carmel harden.

Ramekins with carmel.

While the sauce is boiling away, in a large bowl combine:
4 eggs
3 egg yolks
1 can (12 oz) evaporated milk
1 can (14 oz) sweetened condensed milk
1 tsp vanilla extract (I used my own!)

1 T molasses (I used blackstrap)
1 tsp cinnamon

1 tsp ground ginger
1/4 tsp ground cloves

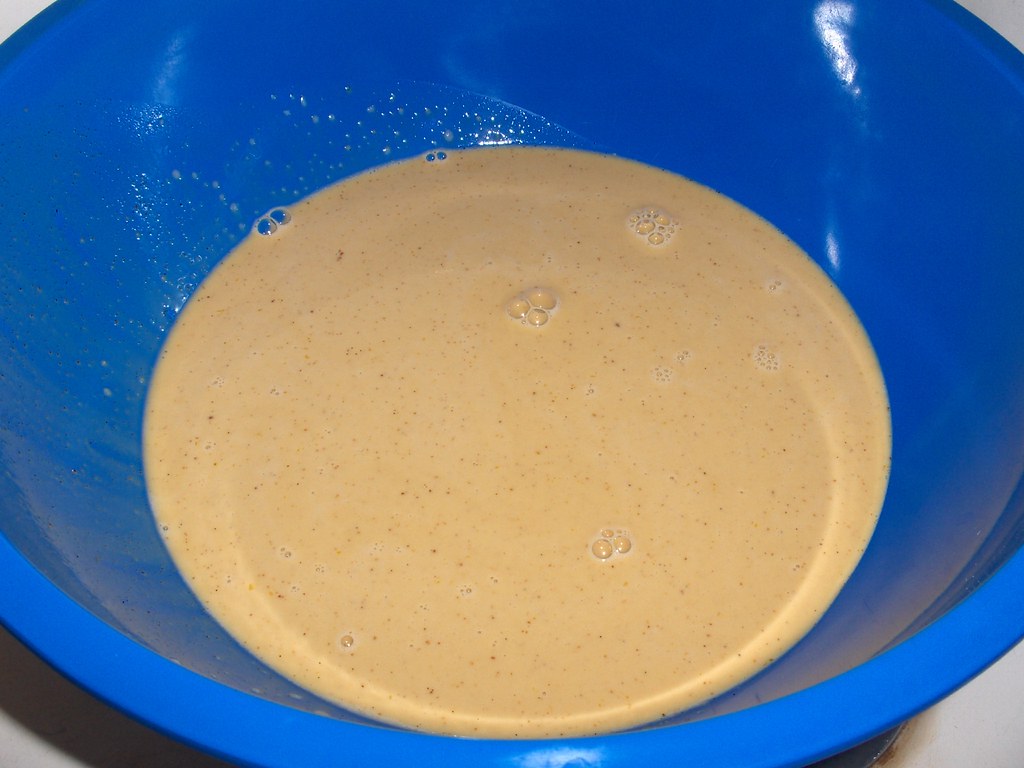
You can use a whisk to start combining these ingredients, but I was most successful with my beloved immersion blender. Combine thoroughly, with a minimum of frothing. Then strain the ingredients at least 3 times, alternating between two bowls. You want to remove any bubbles or other lumps. (This technique is from the pumpkin leche flan recipe, and I don't know that it's strictly necessary, but I figured it couldn't hurt.)

Triple-filtered - because I am thorough, or gullible.

By now the carmel in the ramekins should be hardened. Carefully pour the liquid mixture into the ramekins, filling them most of the way but NOT to the top. (I noticed some cracking noises at about this point - I think the carmel was cracking. I don't know what to make of that, but I think it's okay.)

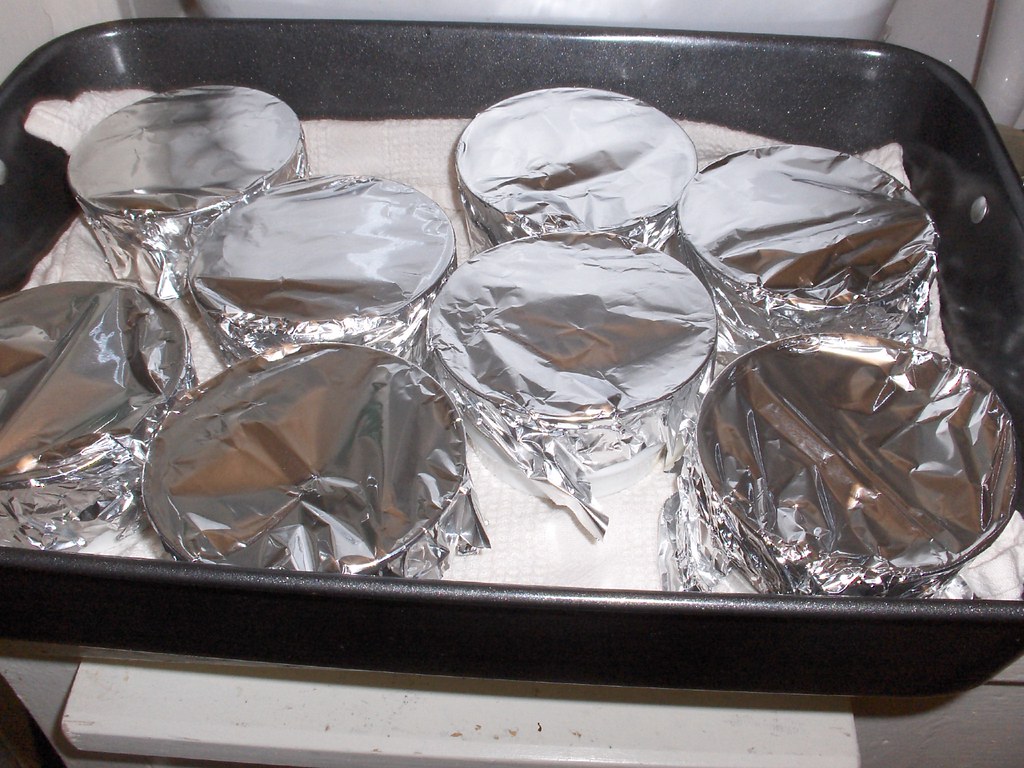
Cover each ramekin tightly with foil. Set them in the towel-lined roasting pan (I gather that the towel helps keep the contents from cooking too fast; I didn't have the nerve to skip that step!). Set the roasting pan in the oven and carefully pour the water from your kettle into the pan. Fill it with water so that the ramekins are half immersed.

Ready for the hot water, and then the oven.

Bake at 325 for 45-60 minutes, until they jiggle only slightly. They will be HOT - I used tongs to handle the ramekins. If you have canning equipment, jar tongs might work well.

Cool on a rack for a while, then in the fridge for 2-48 hours. Serve by inverting onto a plate - note that the idea is that the carmel topping will now be a bit saucy, so be sure to use a plate that has an edge, or you'll risk losing the sauce (and making a mess of your tablecloth).

I made a small sample ramekin for me to test later; the rest are for a dinner on Friday night. This is the first flan I ever made; it required concentration but didn't feel difficult in any way. Stay tuned for my review!
Monday, January 4, 2010

Recipe Review, continued: Marshmallows!

Whew. I wound up letting the marshmallow mass I made sit for over 24 hours, since I had to work today, and they were still pretty sticky last night. I think the extra time was good for them, but it certainly didn't hurt.

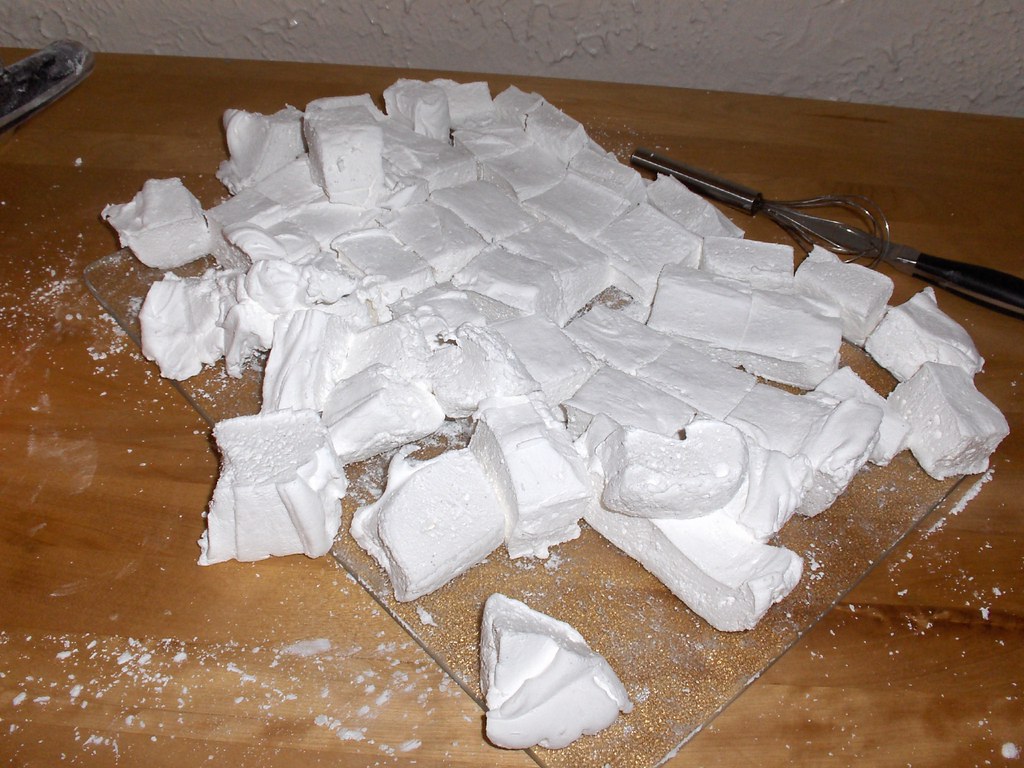
I used the tinfoil to lift them out of the pan, then peeled the foil off. I used a sharp knife (liberally dusted with cornstarch & confectioner's sugar) to cut them up. It was quite messy!


I put them in a bag with more of the cornstarch/sugar, and shook it up, to try to seal the sticky edges. Finally, I piled them into a pan:


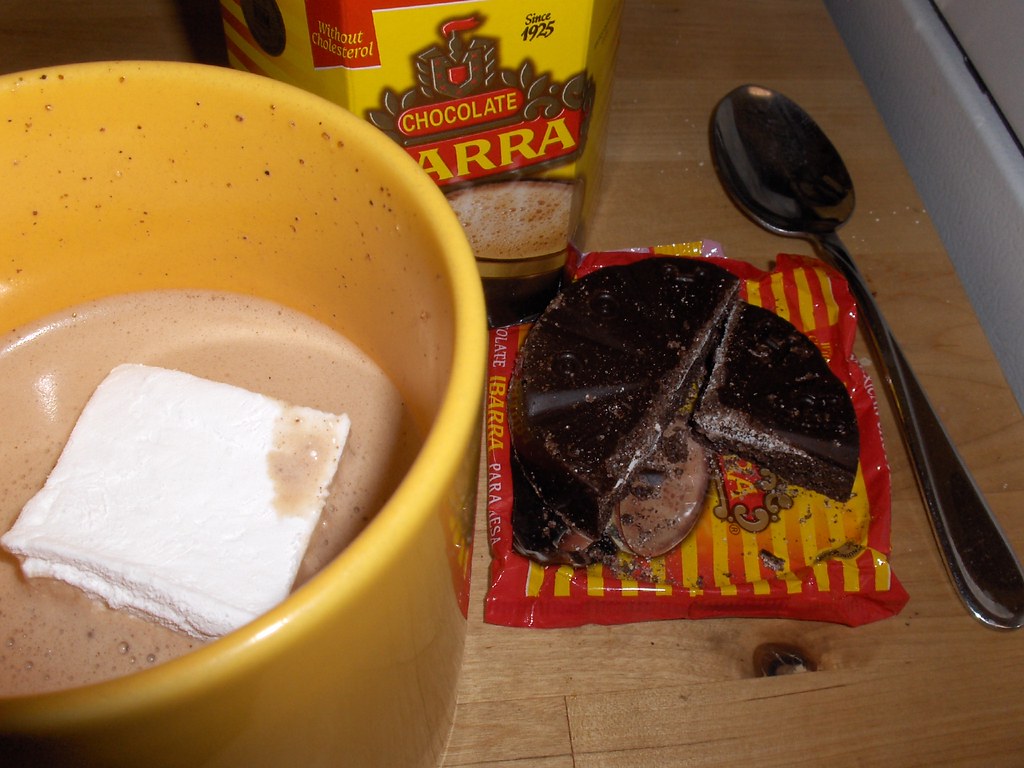
But really, the most important thing was USING them, right? Fortunately I was headed to my local grocery store, where I pondered the many fancy drinking chocolates/hot chocolates/powdered chocolates/shaved chocolates...it was rather dizzying. I wound up buying something I've been curious about for quite a while: Ibarra Mexican table chocolate. It was about half the price of all the other options (it cost $3.89, I think) and had a LOT more servings in the package: 24, or two wedges per serving.


I was surprised to find that the chocolate is in a pretty solid cake - it took some effort to cut off two wedges. You're supposed to heat milk, add it and the chocolate to a blender, and puree it. I microwaved a cup of milk, added the chocolate, heated another 30 seconds, then used my immersible blender to do the honors. Then, of course, I topped with a marshmallow!


It was terrific.

Friday, December 18, 2009

Winter warmth - on ice!

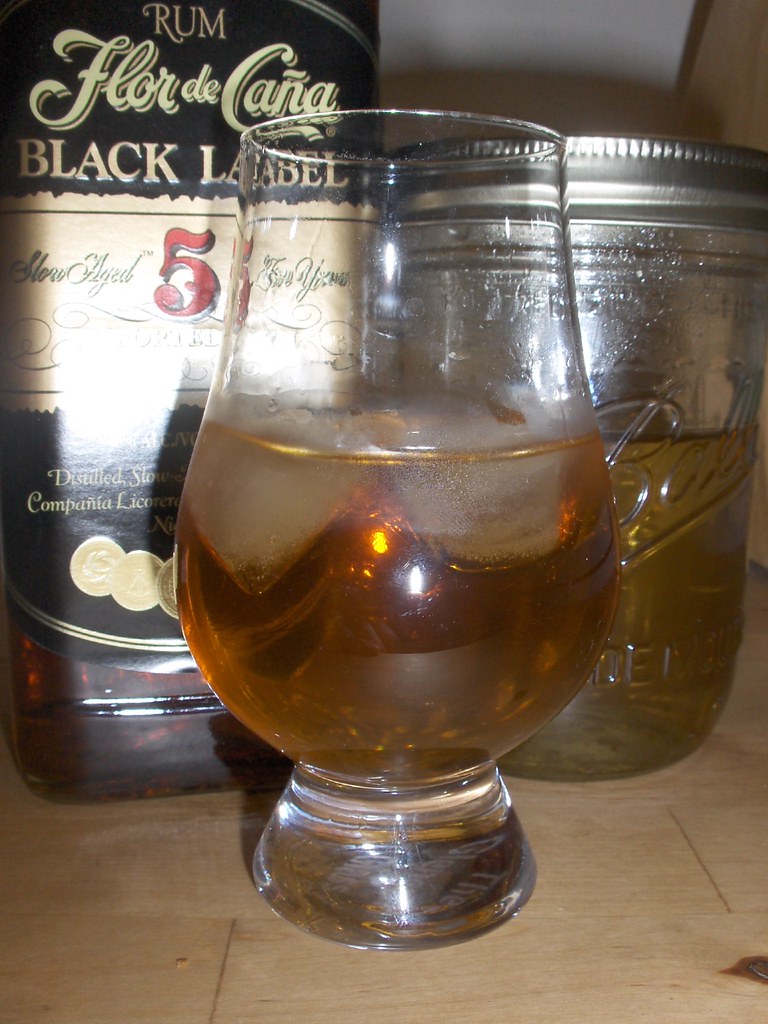
Wow did I have a great meal and a lovely time at Toro Bravo in Portland. One of the very best bits of the meal was the cocktail I had for dessert: rum and a spiced simple syrup, on ice, with a cinnamon stick garnish.

My friend Rachel recognized the rum, so I asked her later what its name was: Flor de Cana. She then went a step further and called the restaurant to find out WHICH of the many types of that label is on their menu. They were delighted the drink made such an impression, and told her it was the 7-year-old Flor de Cana, which is probably the Grand Reserve. I tried to buy some, but it was sold out, so I contented myself with the 5-year-old version instead.

Then I made simple syrup:
In a small pan, combine 1 c water, 1 c sugar, 1 cinnamon stick (in pieces) and 1 T whole cloves
Bring to a boil, then cook over low heat for 10 minutes.
Remove the miscellaneous bits, and let the syrup cool.


Mix it with rum for maximum deliciousness.

Tuesday, December 1, 2009

A drink for a chilly evening

I went to Ireland & Scotland this spring, and among about a billion other great things, I spent a very amazing evening with my two friends Sue and Deirdre, in a small pub called Egan's, in a teeny town called Liscannor in County Clare. We made some friends, who introduced me to the wonders of a hot whiskey. Here's Donal bringing me my first (but oh, no, not my last!):


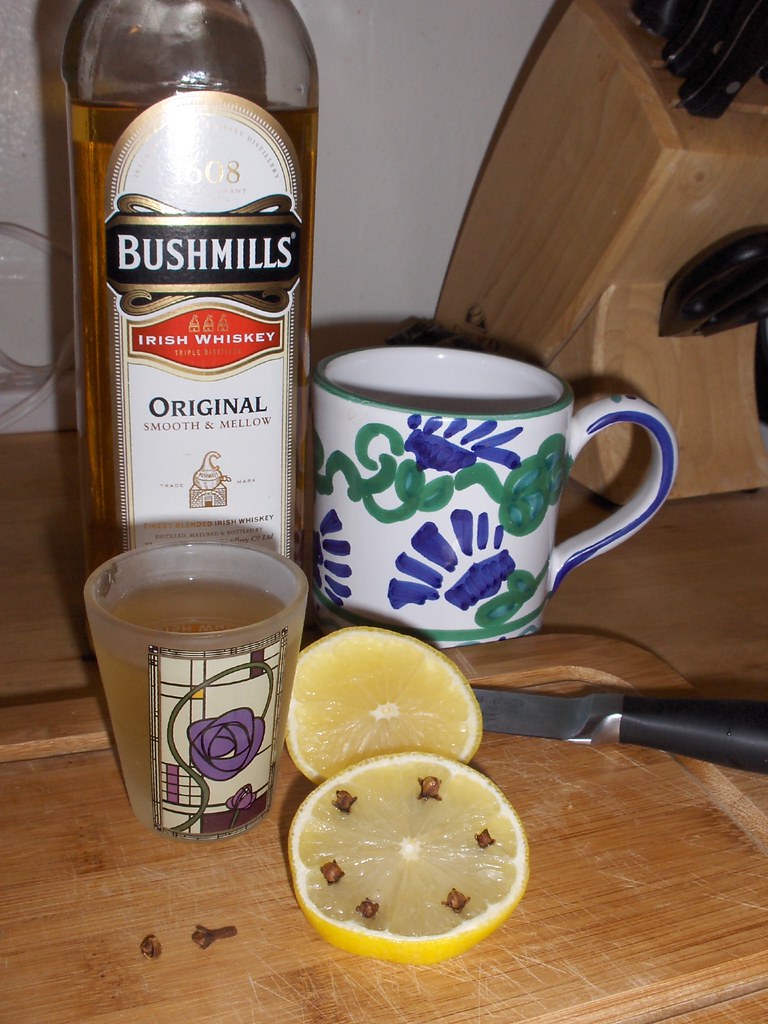
Look at that gorgeous thing! They weren't using fancy whiskey, or complicated ingredients. You only need a few things:
 - whiskey (whisky-no-e if you're in Scotland.. or in Canada, according to wikipedia) (I only had the nerve to try to order a hot whisky once when I was in Scotland, and the waiter had no idea what I was talking about. So maybe this is an Irish drink?)
 - hot water
 - lemon slice
 - cloves

You stud the lemon with the cloves and combine all the ingredients in a lovely glass.. or in a mug if you're me.


So very lovely! 

Monday, November 9, 2009

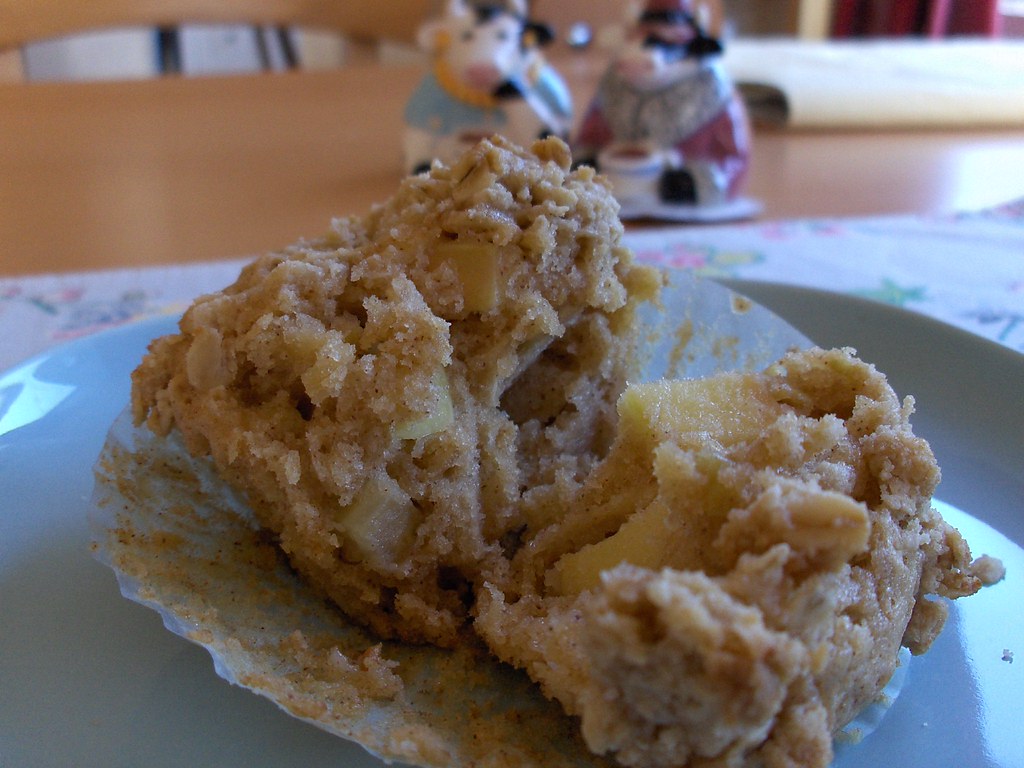
Company-worthy muffins

I had some friends stay with me for a couple of nights this weekend. I am SO inspired by the amazing adventure they're on: they got married in Northern Ireland in May and have been traveling for the last six months, with one more month on the road before they move to Australia. WOW. There's one reason to save a lot of money (it IS very expensive to be cool like that)!


They were excellent guests, and went off entertaining themselves all day Saturday. I was thinking that the thing I would most miss if I were traveling would be home-made food. I like to bake on weekends anyway, so I decided to make some muffins to share with my guests.

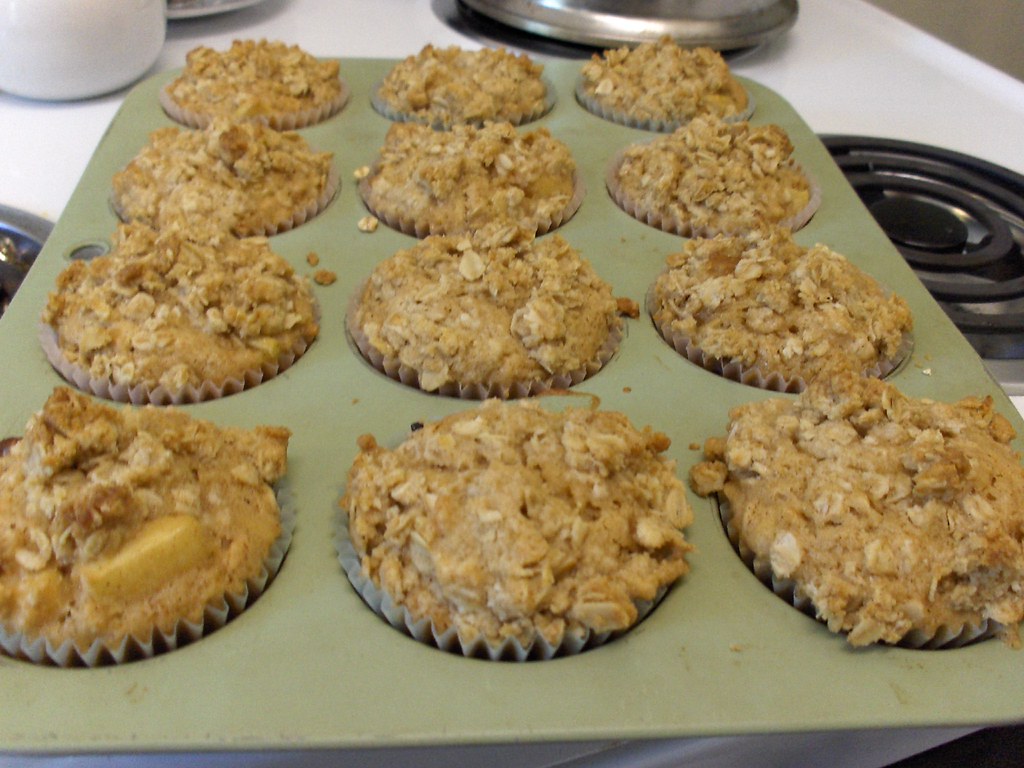
As usual, I flipped through some printed-out recipes, mentally rummaged in my cabinets, and looked at some cookbooks. I knew I had 2 eggs, a few apples, and the usual baking ingredients. I settled on a muffin from an old standby, The Moosewood Restaurant Cooks At Home... but of course I modified it! I added oats to the mix, used their suggestion for grated apples, but also diced some (because I like chunks in my muffins, and because grating is a pain). Since this was for company, I splashed out with a yummy topping as well.


Here's the recipe. The result was fantastic!


Company-worthy Muffins
preheat oven to 350; line 12 muffin cups with paper inserts (or butter & flour the pan)

Topping - in a small bowl, combine:
   1/4 c flour
   1/4 c oats
   1/8 c brown sugar
   2 T butter chopped into pieces. Use your fingers to combine these into a crumbled mixture.

Wet ingredients - in a large bowl, mix together:
   2 eggs
   1/2 cup vegetable oil
   3/4 cup packed brown sugar
   1/2 tsp vanilla extract
   1/2 - 3/4 cup grated, squeezed apple (see note below)
   1 c diced apple


Dry ingredients - in a separate bowl, combine:
   1 1/2 c all-purpose flour
   1/2 cup rolled oats
   1 tsp baking powder
   1/2 tsp salt
   3/4 tsp cinnamon
   1/4 tsp ground cloves (I haven't tried this but I bet it will make the muffins even better)

Gently stir the dry ingredients into the wet ones. As soon as the baking powder gets dampened it starts its magic leavening work, so you don't want to over-mix, and you want to get it in the oven pretty promptly.

Once the batter is combined, put it into the muffin cups so they are evenly filled. Sprinkle with the topping mixture. Bake for 20 minutes, or until a toothpick inserted in a muffin comes out clean.

Note: grating apples was new to me. It's kind of a pain: you have to keep an eye on the core so you don't get seeds and hard bits in your muffin. It's also messy! I was using honeycrisp apples which have been delicious and extremely juicy this year: luckily I was grating onto a plate which had a raised lip. Once I'd worked through 2 small apples I gathered the shreds into my hand and squeezed out the excess juice (which I later drank.. yum). Then I packed it into a cup measure - 2 small apples worked out to a bit more than 1/2 cup. At that point I gave up and diced another apple or so. It wound up being a nice combination to have the apples in two different shapes in the muffins.

Serve with a glass of milk and good company.